So, it’s been a little while again! I’ve come to terms with the fact that this is going to be a pretty slow build and don’t intend to do an apologetic post every time I take ages over the next piece. I’ve done some rough estimates though and at the current pace I should be able to submit for an SVA some time around my 137th birthday. Time to pick up the pace a little…
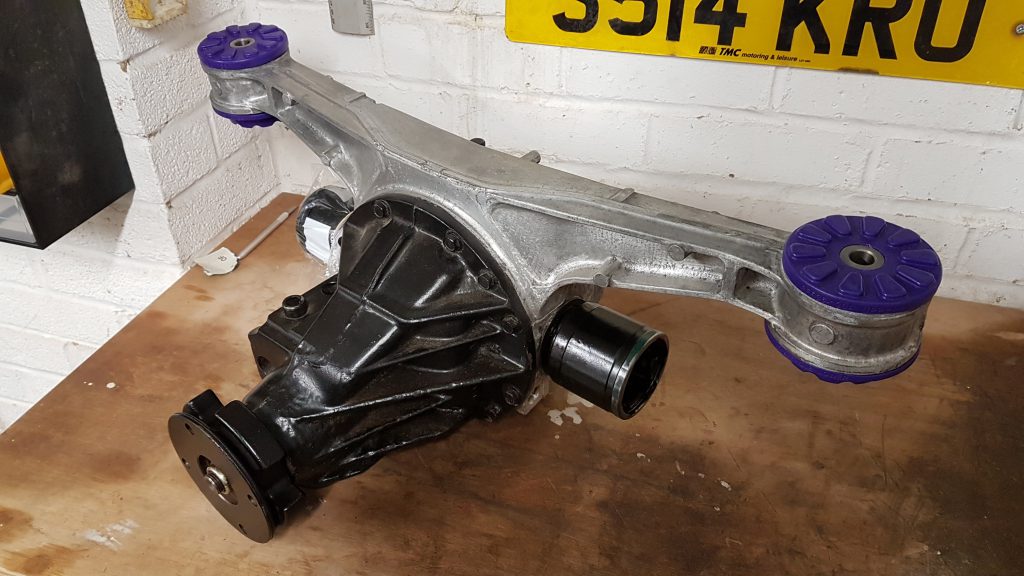
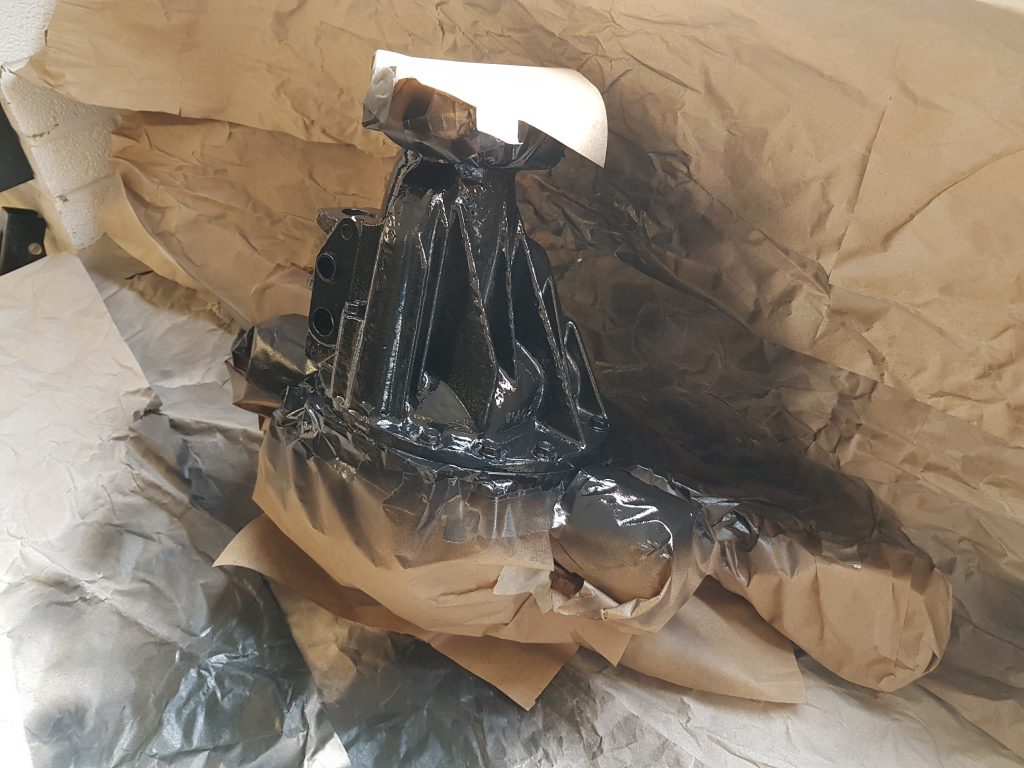
With that in mind I’ve been preparing the differential an it’s almost ready to go on the car. In best r/DIY tradition here is a picture of the finished article as a starting point.
So what needed doing to get to this stage? Here’s a bit of a checklist first then I’ll go through dome more pictures and a few gotchas below.
- Clean and polish the aluminium casing
- Clean and paint the iron casing
- Replace bushings with poly bushes
- Remove, prep and replace stub shafts (including oil side seals)
Aluminium Casing
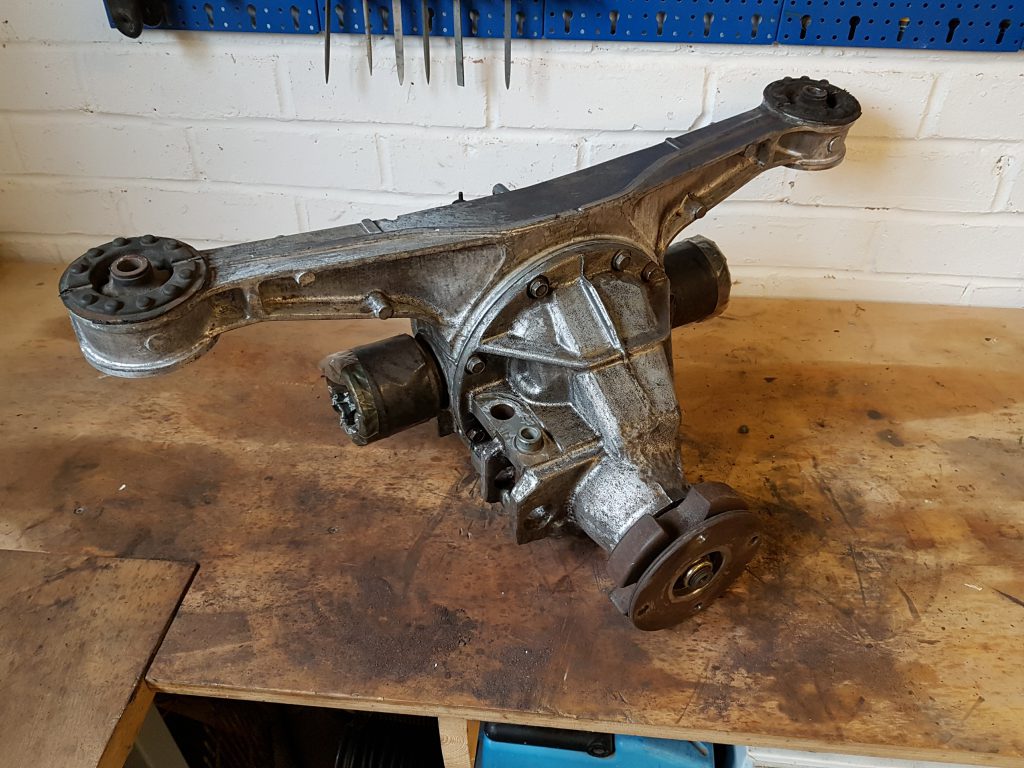
This was the task that has taken far and away the longest. I still don’t feel like the finish is anywhere near as good as it could be either. The process I’ve followed is;
- Clean off the old gunk with a toothbrush and some petrol
- Strip off all the oxidisation with a Dremel and a small grinding stone. I tried Dremel Scotch-Brite pads first but they weren’t cutting it.
- Go over everything with gradually smoother wet & dry
I’ve got a good finish in some places but the fins on the back of the casing are just too intricate to get at them as I’d like. With hindsight I’d have used a decent degreaser rather than petrol for the first step. It’s also worth noting that you can get Chinese knock off Dremel bits on ebay for dirt cheap! I got 100 of them for £11.82 delivered.
Iron Casing
The iron casing was a little easier to prep. Less fiddly corners and I could just go at it with a wire brush fitting for the drill. This was still a fair amount of work but cost less than £5 for a variety of different heads and they are still going strong.
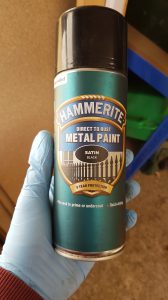
I wish I’d managed to take a picture of the iron before starting as it came back to bare metal pretty well. I then read around quite a lot on different paints. This is something I want to get right as quite a lot of parts will be getting sprayed black from the diff-housing to the uprights, calipers and drive-shafts. I nearly went for something like POR 15 or Eastwood Chassis Black but in the end my inner tight northern bastard got the better of me. So I bought a single can of Hammerite Black Satin for £9.79
I’m never going back… It’s brilliant stuff! Goes on smoothly, good price, nice coverage and I can get away with a bit of rust under it too. Ended up coming out like this just after spraying.
Bush Replacement
Now I get on to two of the jobs I found a bit more intimidating. As I’ve said previously I’m not experienced and it feels like bushes / seals are where my chance of an expensive mistake start increasing. I didn’t get any pictures of this but replacing the bushes was surprisingly easy.
- Used the technique in this YouTube video to remove the bushes. It was a bit of a sweaty job but in less than 30 minutes both bushes were out! Essentially you get a kango or drill with a hammer action on it and just whack away at the bushes to push them out (from above).
- Cleaned up the inside of the bores, again with the Dremel grinding stones I used on the rest of the aluminium housing.
- Sourced some Powerflex diff mountings for £70. I expected these to be quite difficult to get in so I used a little white lithium grease on the central metal section then persuaded them in with a bit of wood and a rubber mallet. Went in surprisingly easy though!
Stub Shafts & Oil Side Seals
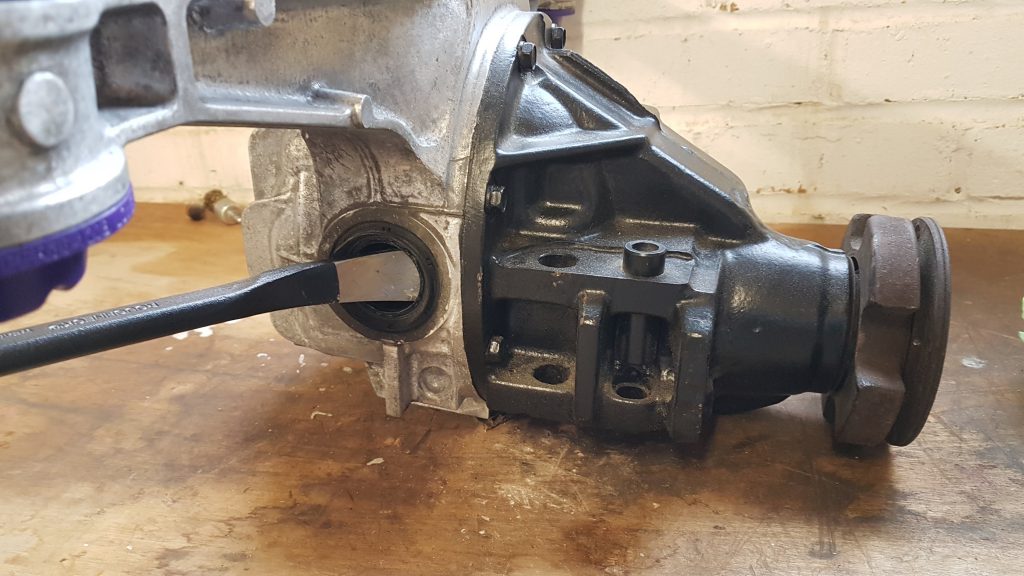
Finally the scariest bit. I wanted to change the side oil seals on the diff while this is all nice and accessible so those stub shafts have to come out! There is a little circlip on the end of each stub-shaft hidden away in the bowels of the diff (you can’t get at them) so the best way to get each shaft out is with a prybar between the stub shaft & diff housing along with some gentle persuasion. Once these were out I stuffed a plastic carrier bag in each of the holes to stop any dirt getting in the diff.
Stub shafts are out… Now what? Time to get all the grease out of the female end of the shaft (there is a lot in there) and clean the exterior up ready for a lick of paint. Good excuse to get a couple of new toys too.

Another new skill for me to learn. I started off by making up some diluted degreased with 5 litres water and a few cap fulls of the stuff on the right. Never having used a parts washer or degreaser before, I don’t know what I expected… Maybe for the much and grime to just magically rinse off under the parts washer tap? I should be so lucky! It was surprisingly east once you get going but here are my top tips;
- Use piping hot water. It will make your life easier
- Don’t dilute as much as it says on the bottle… More is more with degreaser
- Don’t use the fingers on the gloves to get the much out. Buy a pack of cheap toothbrushes instead
- Crack a window open. The fumes from the degreaser are nasty
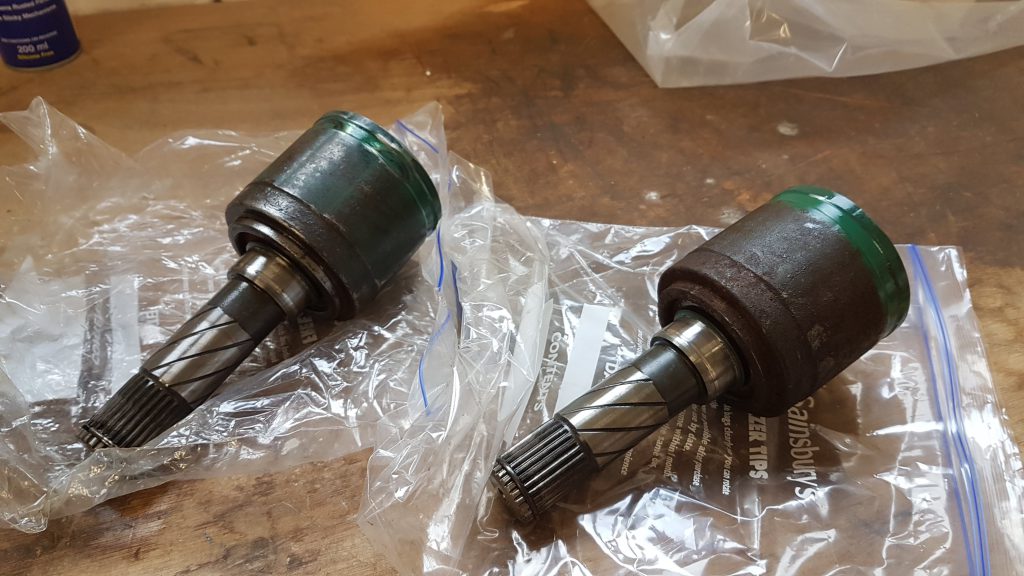
Once the muck was off it was the same as with the diff housing. Strip off the rust and get it sprayed up with some Hammerite. I’m a bit paranoid about getting marks on the “clean” areas of machined parts like this so cover as much as I could. I also keep them in freezer bags when not working on them. Here they are cleaned up and ready for a lick of paint.
Last step is to change those side oil seals and put the stub shafts back in. It’s at this stage that I nearly screwed everything up by fannying around with the oil seals and pulling a bit of rubber off. Dropping that inside the diff would have been disastrous! Turns out the best technique is to stick a claw hammer or small pry bar inside the oil seal and lever it out. Be careful not to mark the diff housing but don’t worry, there’s no metal lip to catch it on or anything.
The final parts were then fairly easy
- Put a bit of diff oil around the new seal, put a piece of flat wood over it and gently tamp into place
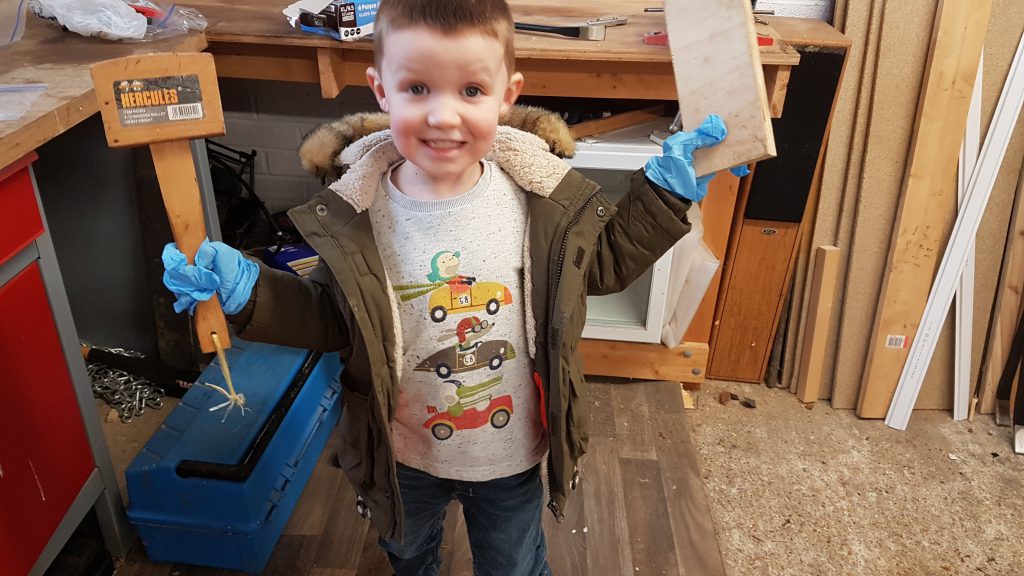
- Carefully put the stub shaft back in, same piece of wood and then a couple of sturdy whacks with a mallet to get the circlip in. Little helpers can come in handy here.
- I then wrapped up the female end of each in a plastic bag to protect then until they are ready for shafts.
What Next?
I have a small bracket for the diff that is sat drying with paint on it. Then I need to find a way of maneuvering the diff into position on the chassis without scratching anything… T-shirts for padding maybe? I’m not going to replace the diff oil until I consider getting it moving.
I’ve also started stripping down the rear uprights and drive shafts. These are going to be next until all the backend drivetrain is in place.
