This is a job I’ve been putting off for quite some time. I sheared a bolt while stripping a front upright, bent a punch opening up a hub nut and then snapped a socket adapter trying to get something else off. It’s just felt like I don’t have the right tools for the jobs in some parts. I’ve therefore invested in two new toys to try and make this easier. The hub puller / slide hammer from my last post and this little bad boy!!
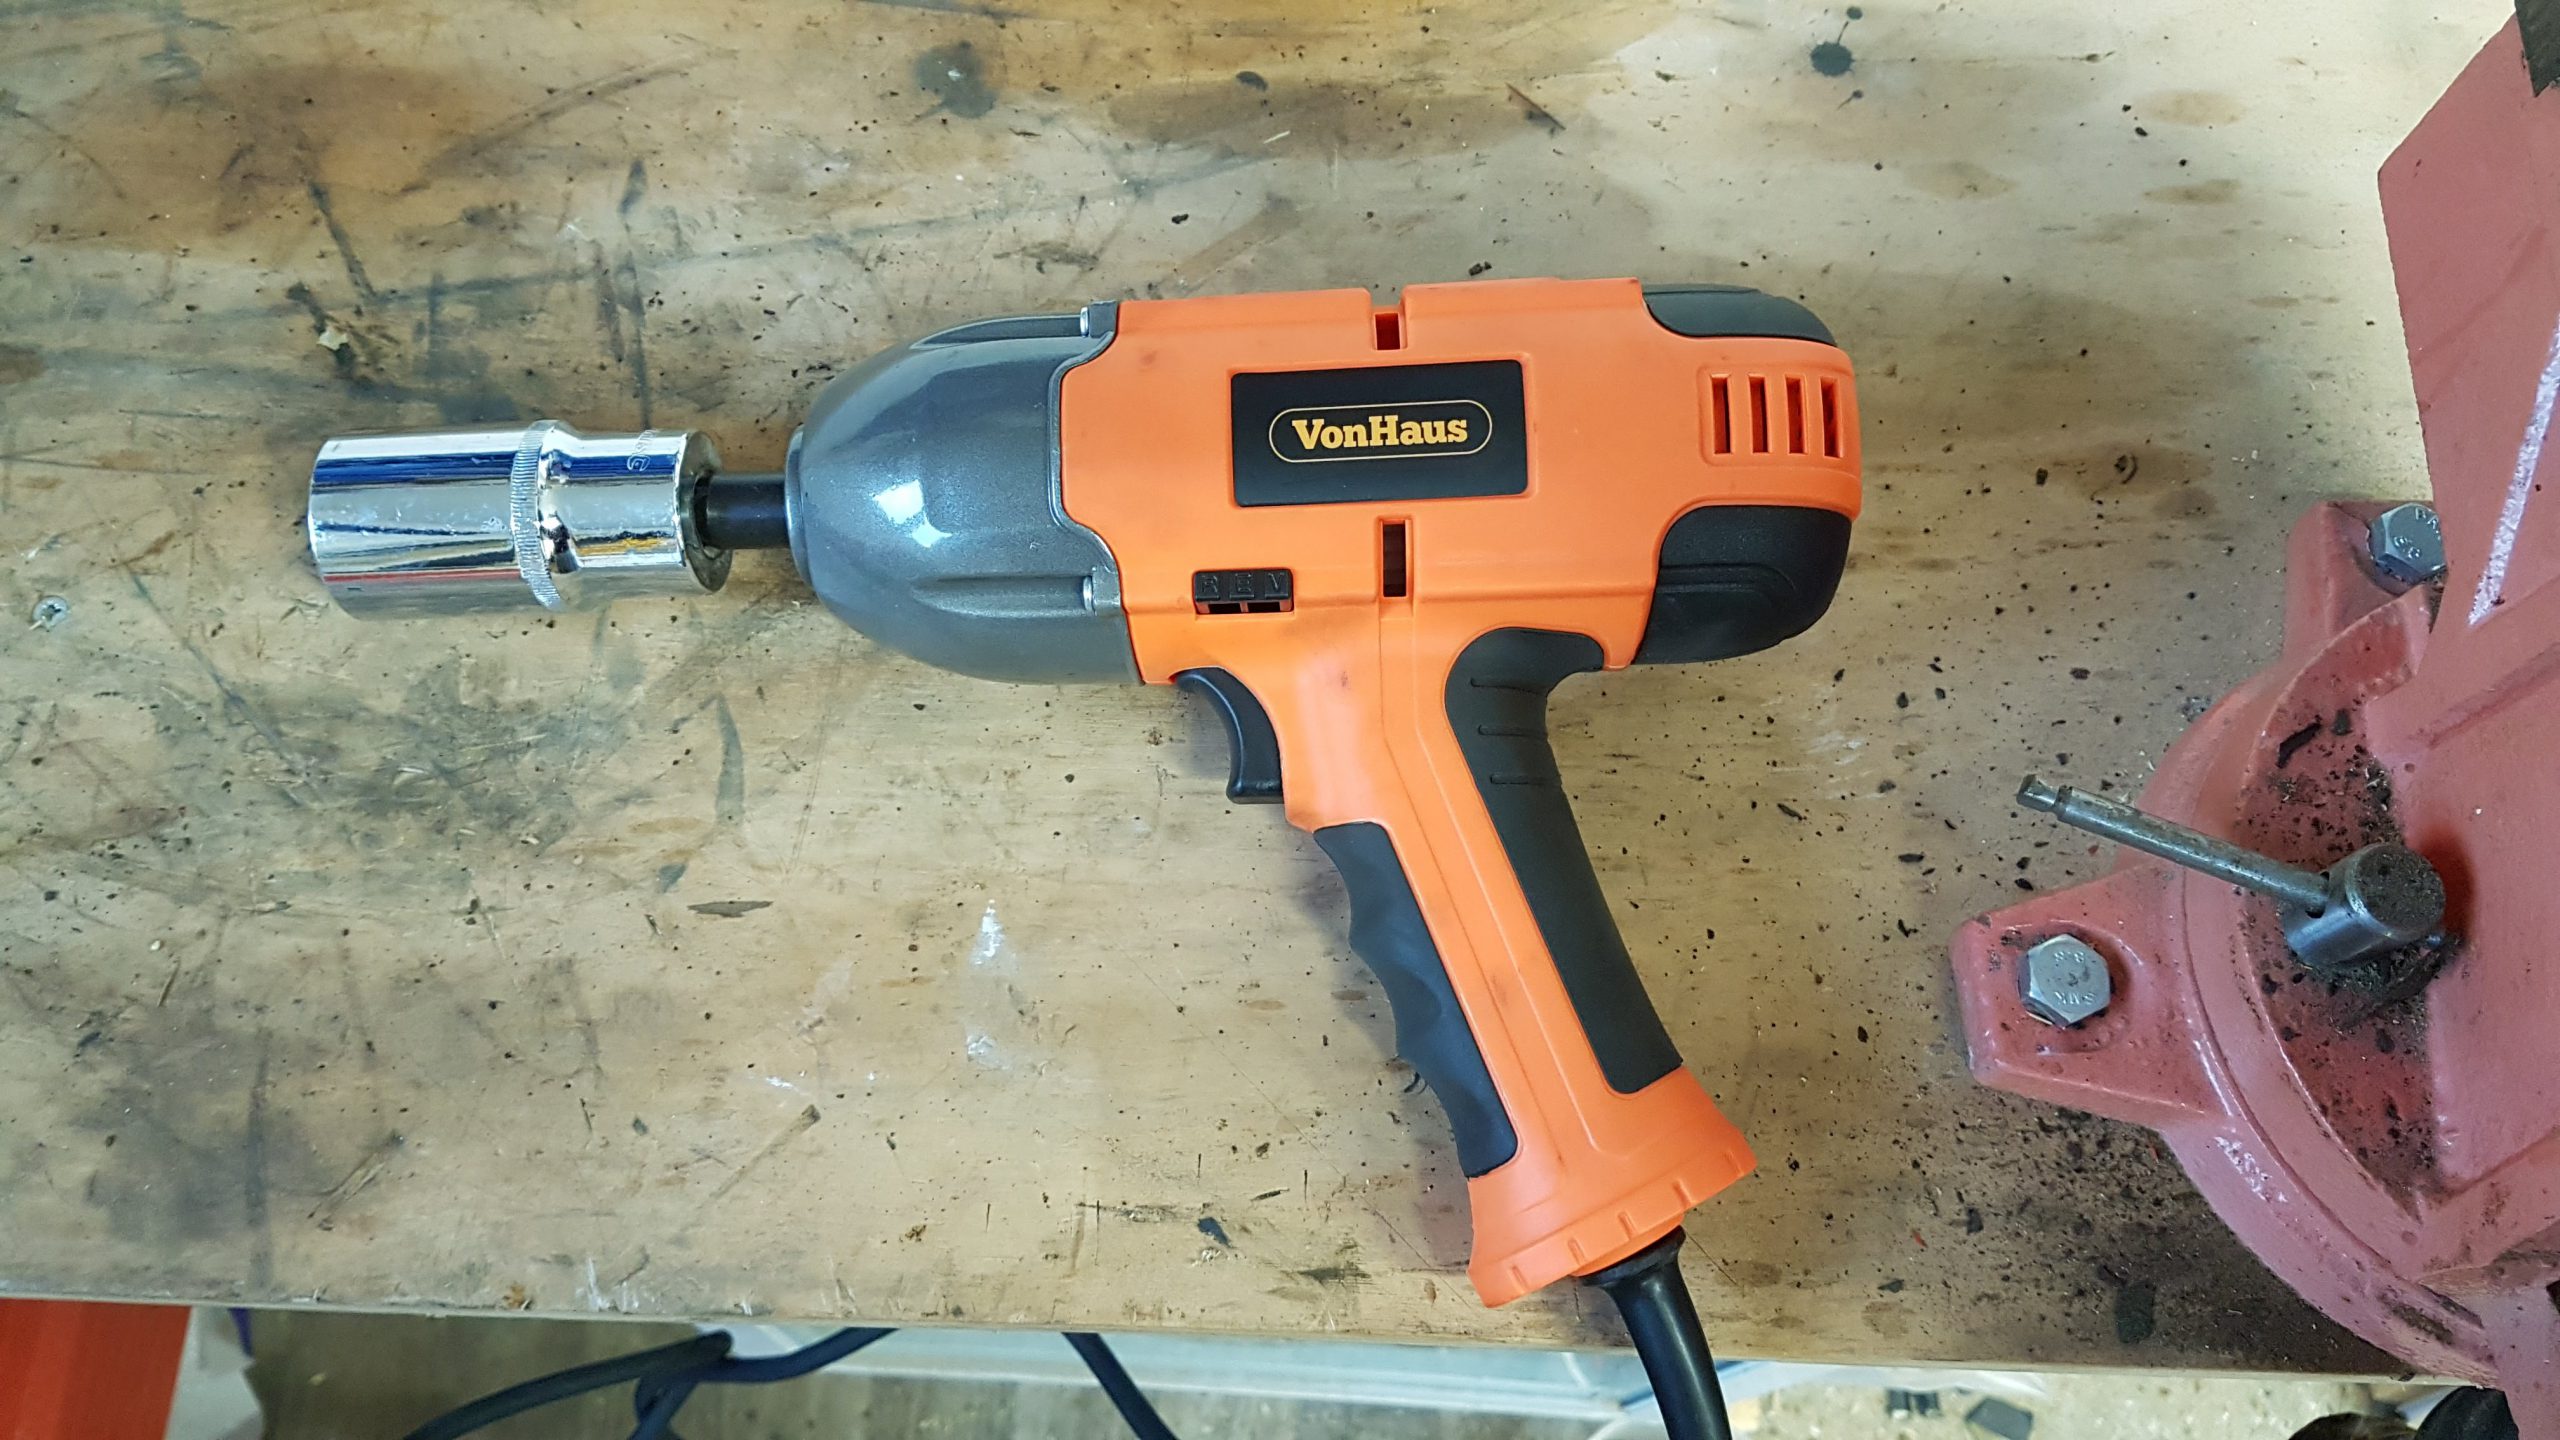
A 900Nm impact driver off Amazon for the hub nuts. Hopefully with these additions and my existing tools it should be pretty easy to strip down the next set of parts ready for reconditioning.

This and most of the other donor car parts are now covered in sawdust and cobwebs as they’ve been sat in a corner of my garage for the past 2 years. First thing to do is liberally apply WD40 to all the boltheads before taking off the ABS sensor (get the wire out of the way). I’ve started using ratchet only for jobs like this, with the rationale that I’m unlikely to generate enough torque to shear them off.
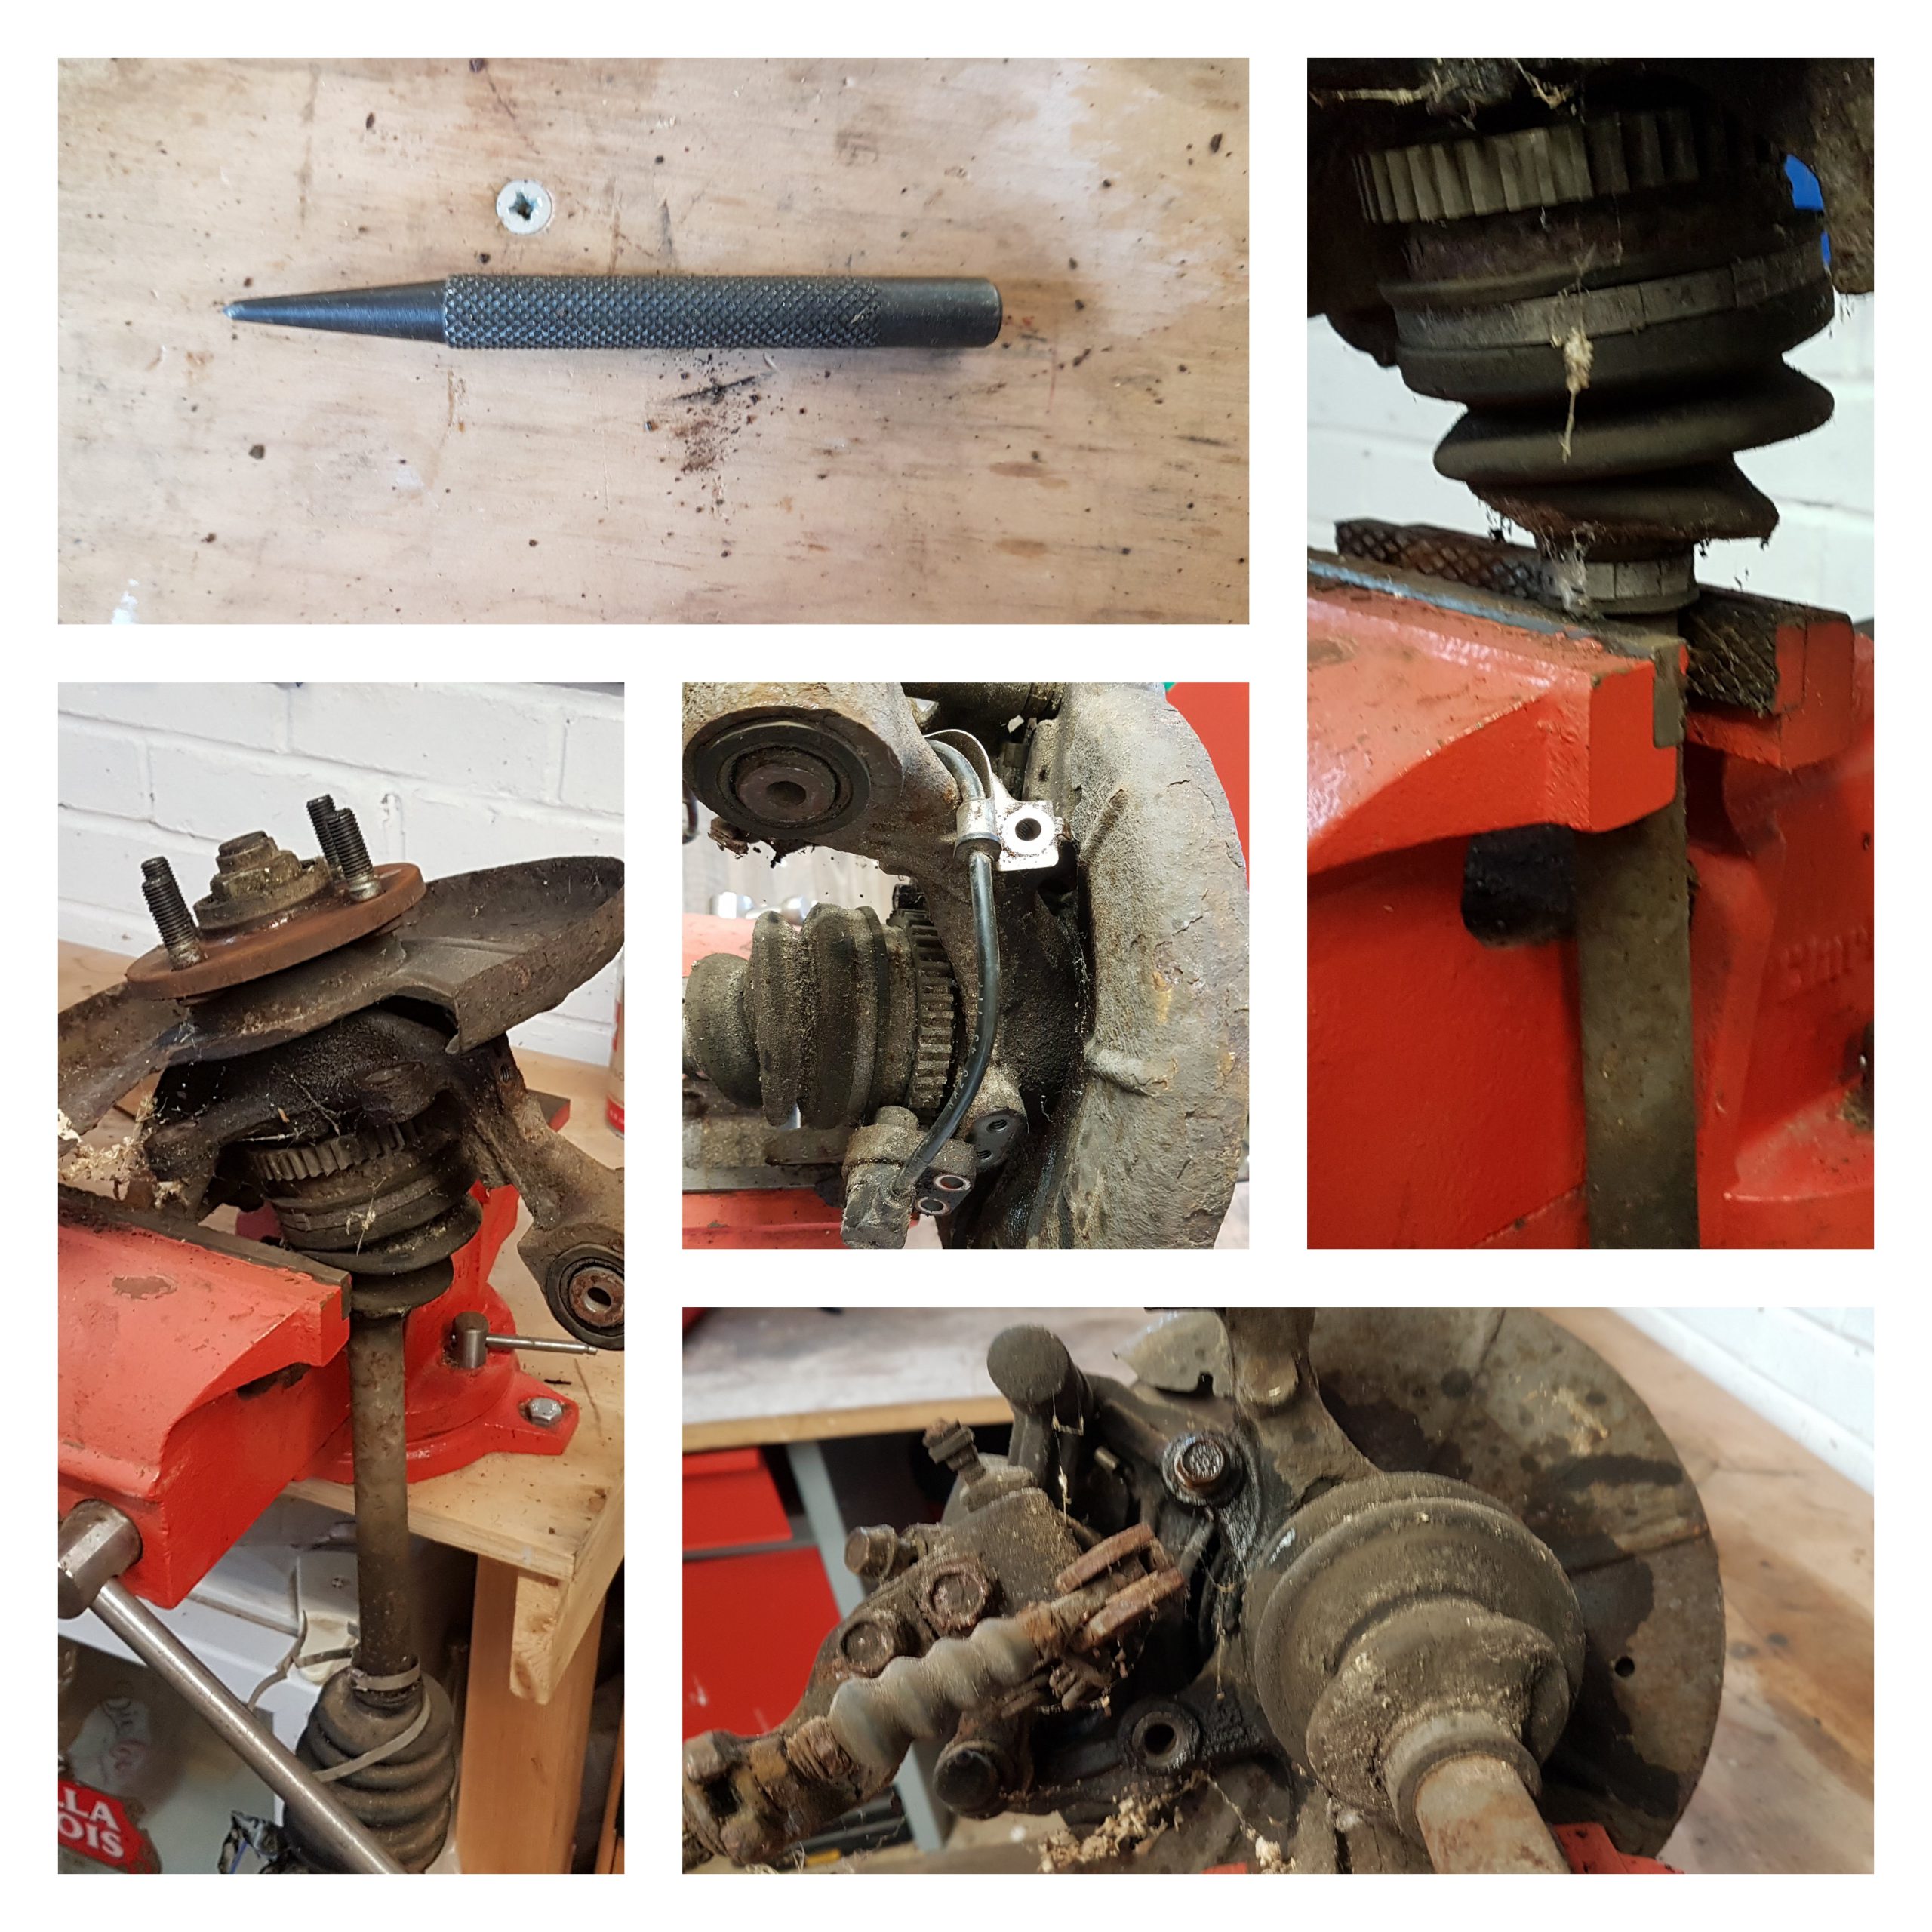
Then a couple of bolts to take off the brake caliper. The brakes shoes were fully seized / rusted onto the disc so this needed a little persuasion with a piece of wood and a club hammer. Once the caliper is off the brake disc just slides off easily.
Next is the hub nut… I was dreading this as I’ve read a fair amount online about people struggling with them as they are torqued to 220 Nm. It sounds like the best way is to do it while the upright is still on the car. Apply one breaker bar, some scaffolding pole and a fat lad. I’ve got all the tools for this (including the fat lad) except the attached car. Seen as this isn’t an option let’s try plan B. After releasing a pinched part of the hub nut with a centre punch I gripped the drive shaft with a vice and had a go with the impact driver. 900 Nm > 220 Nm! It took about 5 seconds to loosen 😁 I’d like to think this is a tool I can use to make a lot of jobs easier but my brother tells me it is likely to destroy smaller items.
Next thing is to get the drive shaft out of the upright. He bought me a 4″ gear puller as a birthday present a couple of years ago. Perfect tool for the job at this stage.

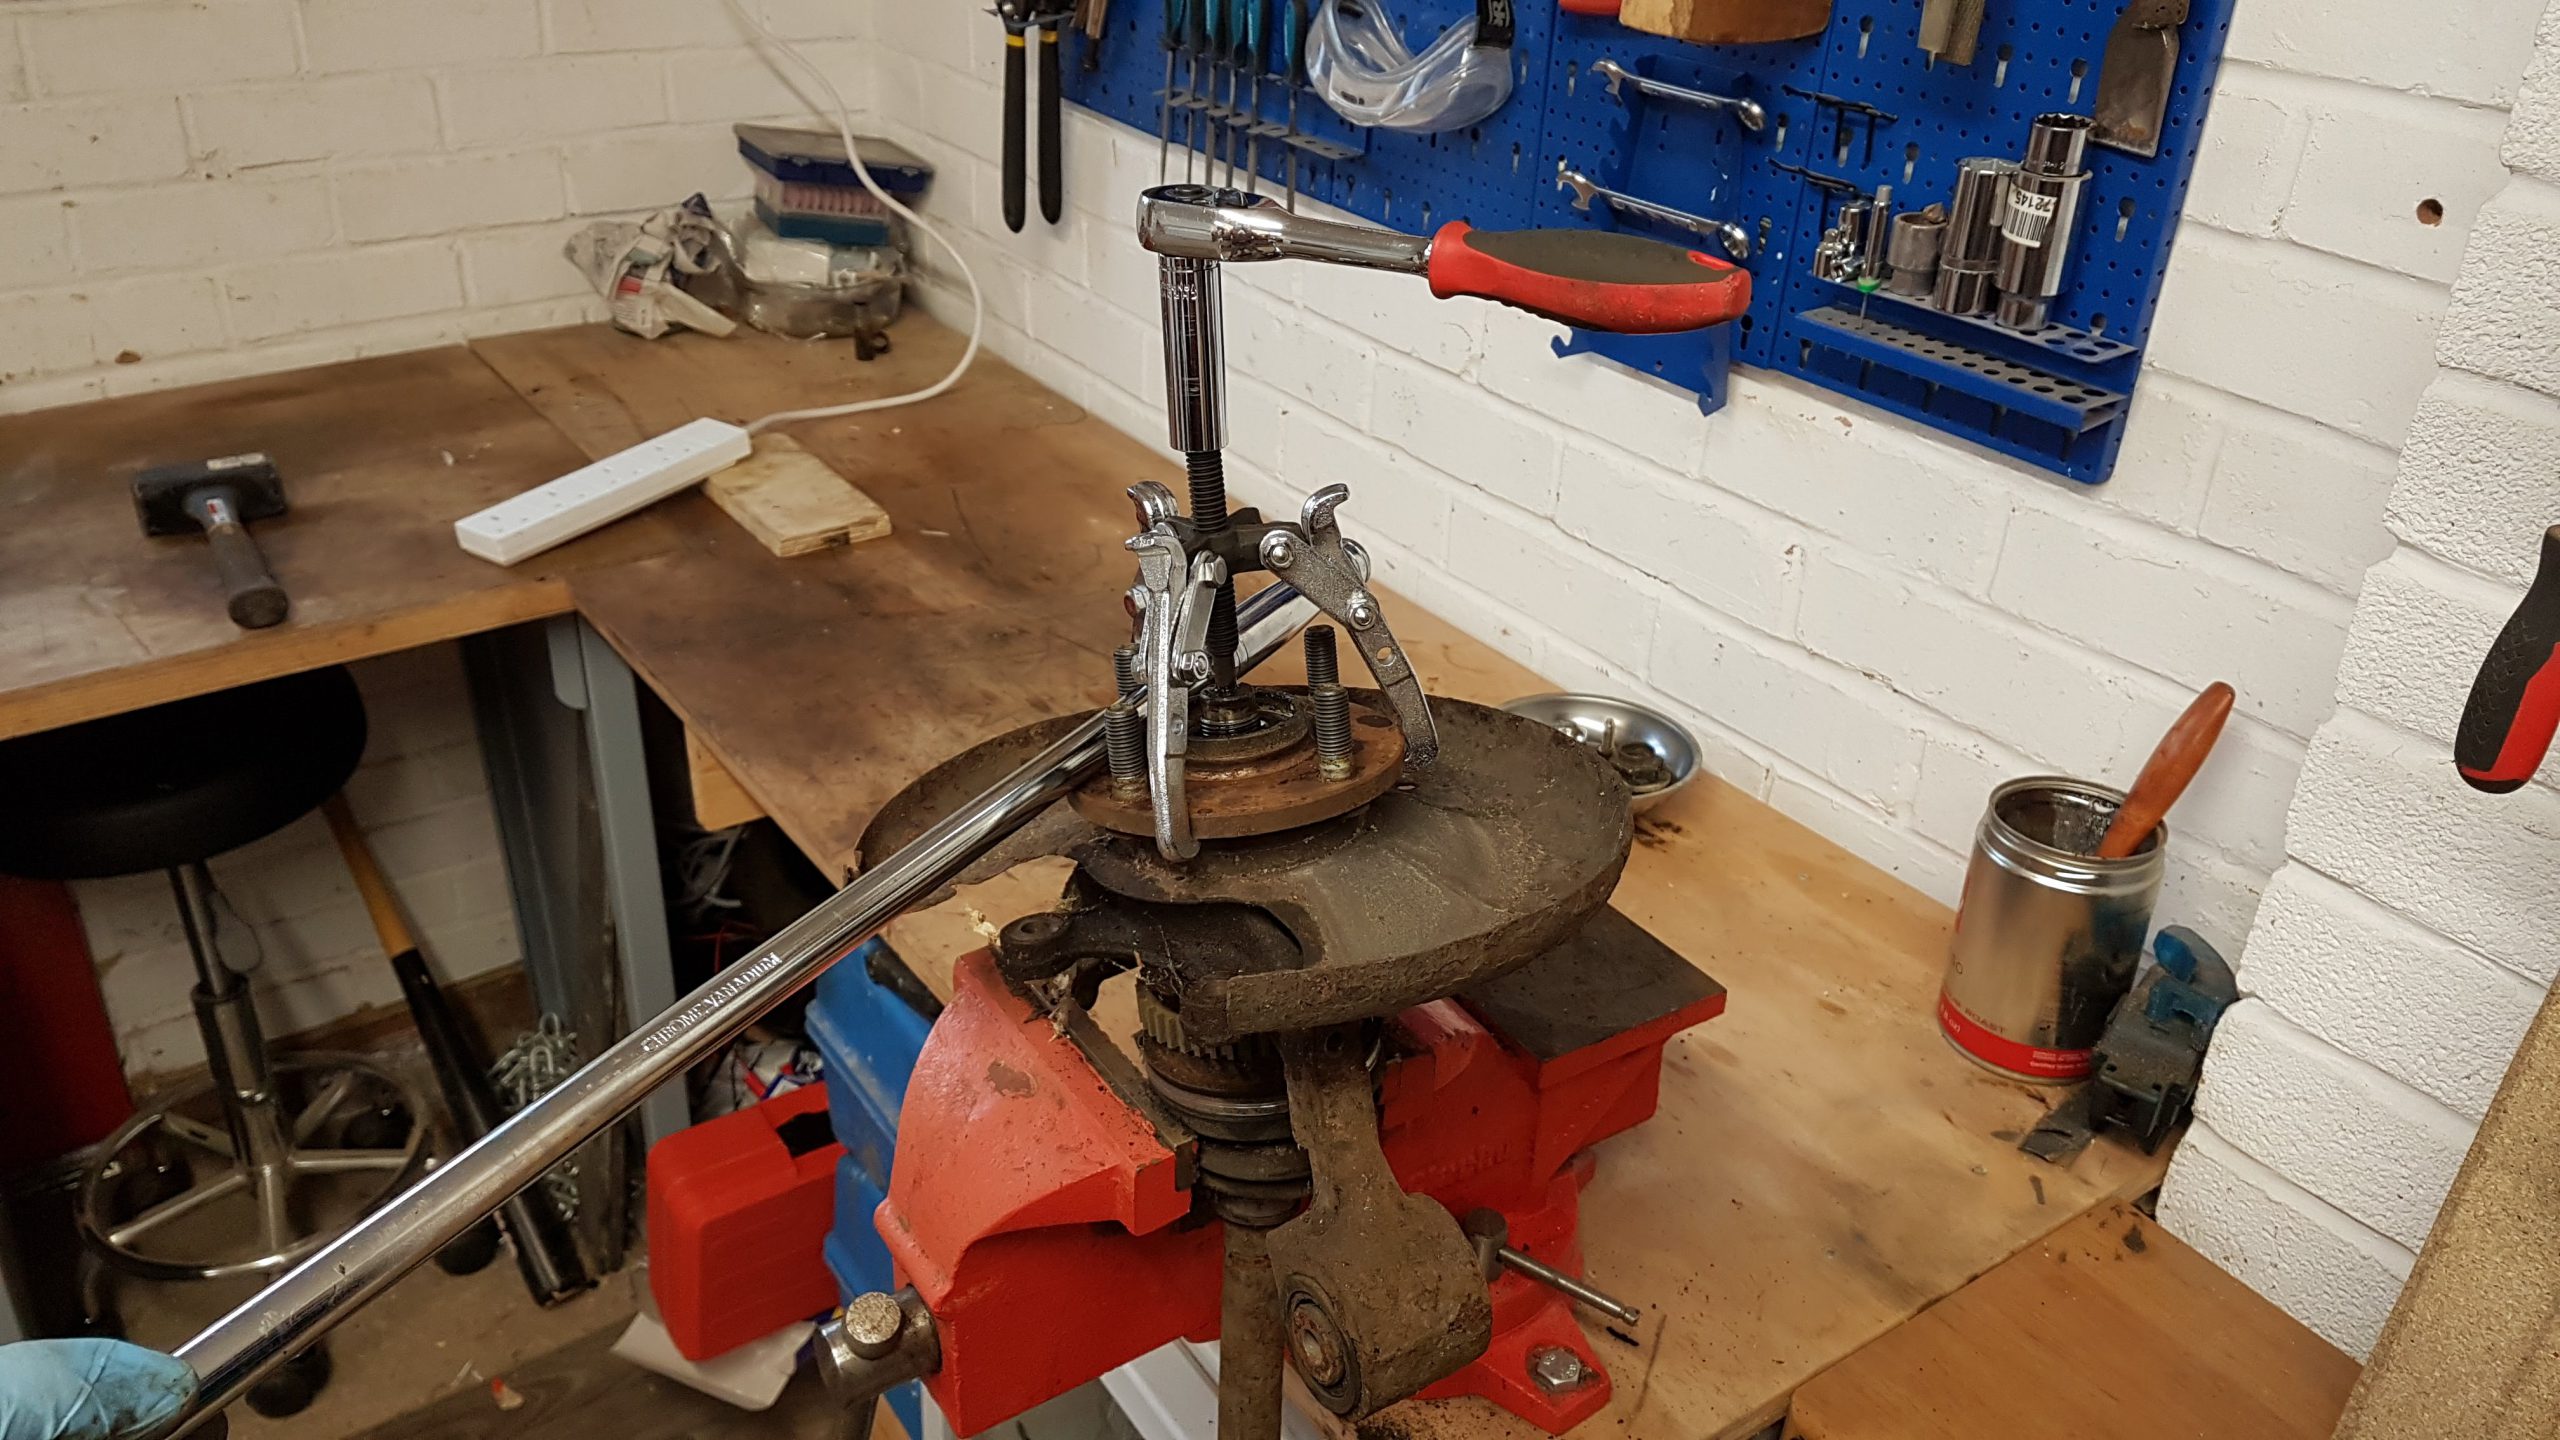
If you notice in the photo, I’m no longer gripping the drive shaft with the vice. Instead I grabbed a hold of the upright in order to let the weight of the drive shaft continue exerting some downward pressure along with the gear puller. Just needed to wedge a breaker bar between the hub studs to stop the entire assembly spinning while torquing the gear puller.
So… drive shaft is out and this is where my luck runs out unfortunately! I tried a few different things to get the hub and bearing out of the upright.
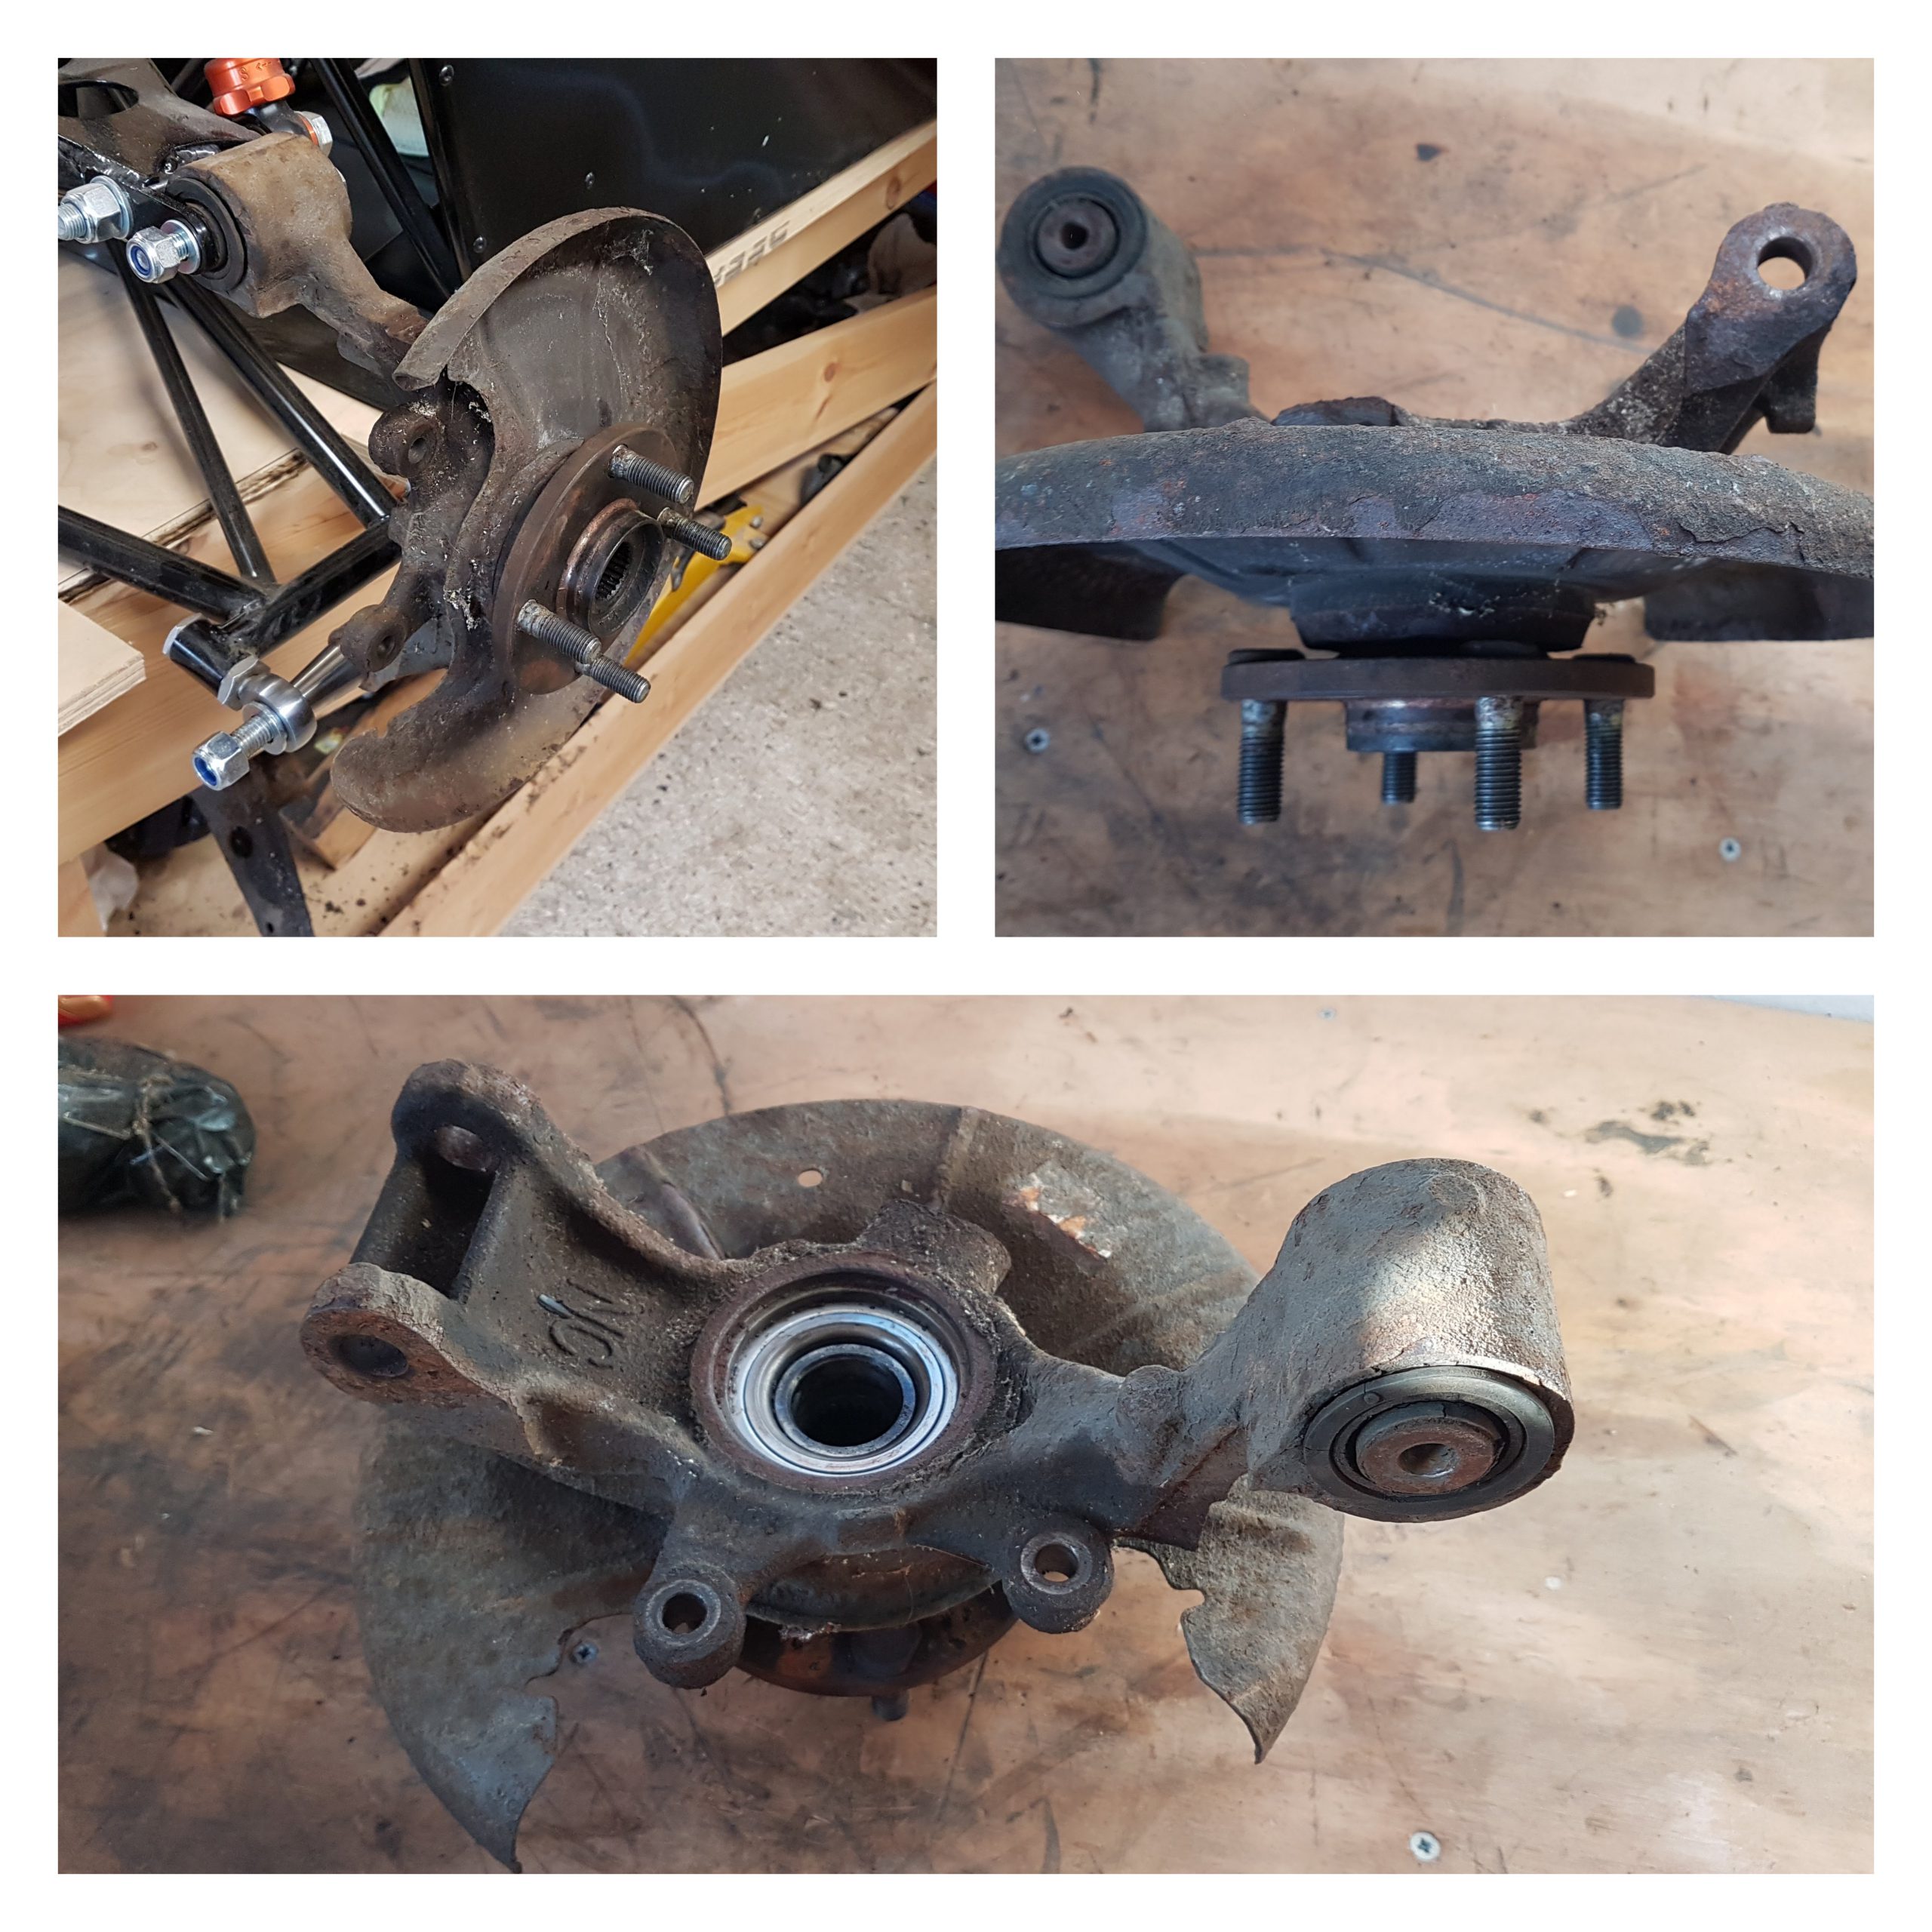
I started off with a kango which did very little. I then had a go with a hub puller and slide hammer which has only made matters worse (hence having it attached to the new chassis). I’m going to admit defeat and take them down my local friendly garage to see if they can get everything moving with a press at the weekend. This means the pressure’s on a bit. I only want to pay for this doing once so I need to have all 4 uprights stripped down for Saturday morning… Then straight down there after wee man’s swimming lesson.
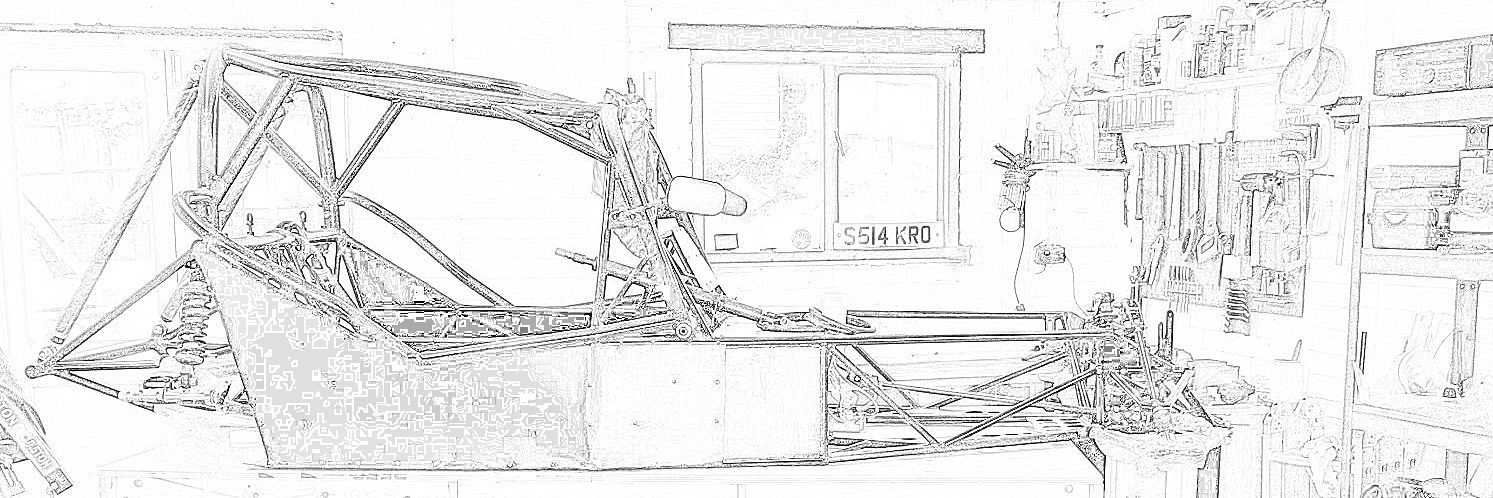
Hopefully all goes well then I have lots of part reconditioning to do at the same time as fitting the differential to the chassis.