Recently I took a few days off to start stripping down the donor mx5. I was a bit scared but also a quite excited to get started. In terms of preparation, the things I found most valuable were;
- A decent socket set (metric)
- A good quality pair of needle nose pliers
- An impact bar with and adapter to fit the sockets
- A few torx sockets for bits on the roof / interior
- A couple of good quality Philips screwdrivers
- A big cheap flat head screwdriver for “persuading” uncooperative trim
- A couple of sharpies
- A roll of white sticky labels
Roughly following the MEV guide for stripping down a Miata, I decided to get the roof off and start tackling the interior first. Give me some room to work and warm up on some low value parts.
The roof is pretty easy to get off with a torx key here and there. The seats needed an impact bar to get the bolts moving. While getting the wiring loom out of the door, the needle nose pliers worked really well for pinching the release on the plugs at the same time as pulling straight out. One thing I wish I’d know at the time is that the door wiring loom has a plug between the dash and outer shell. It’s easy to unplug and get it out of the way.
It’s mentioned in the MEV page but I’ll re-iterate it… Label absolutely every plug on the loom!! You will forget where they came from within 30 mins
Something else that would have been useful to know from the Haynes manual.
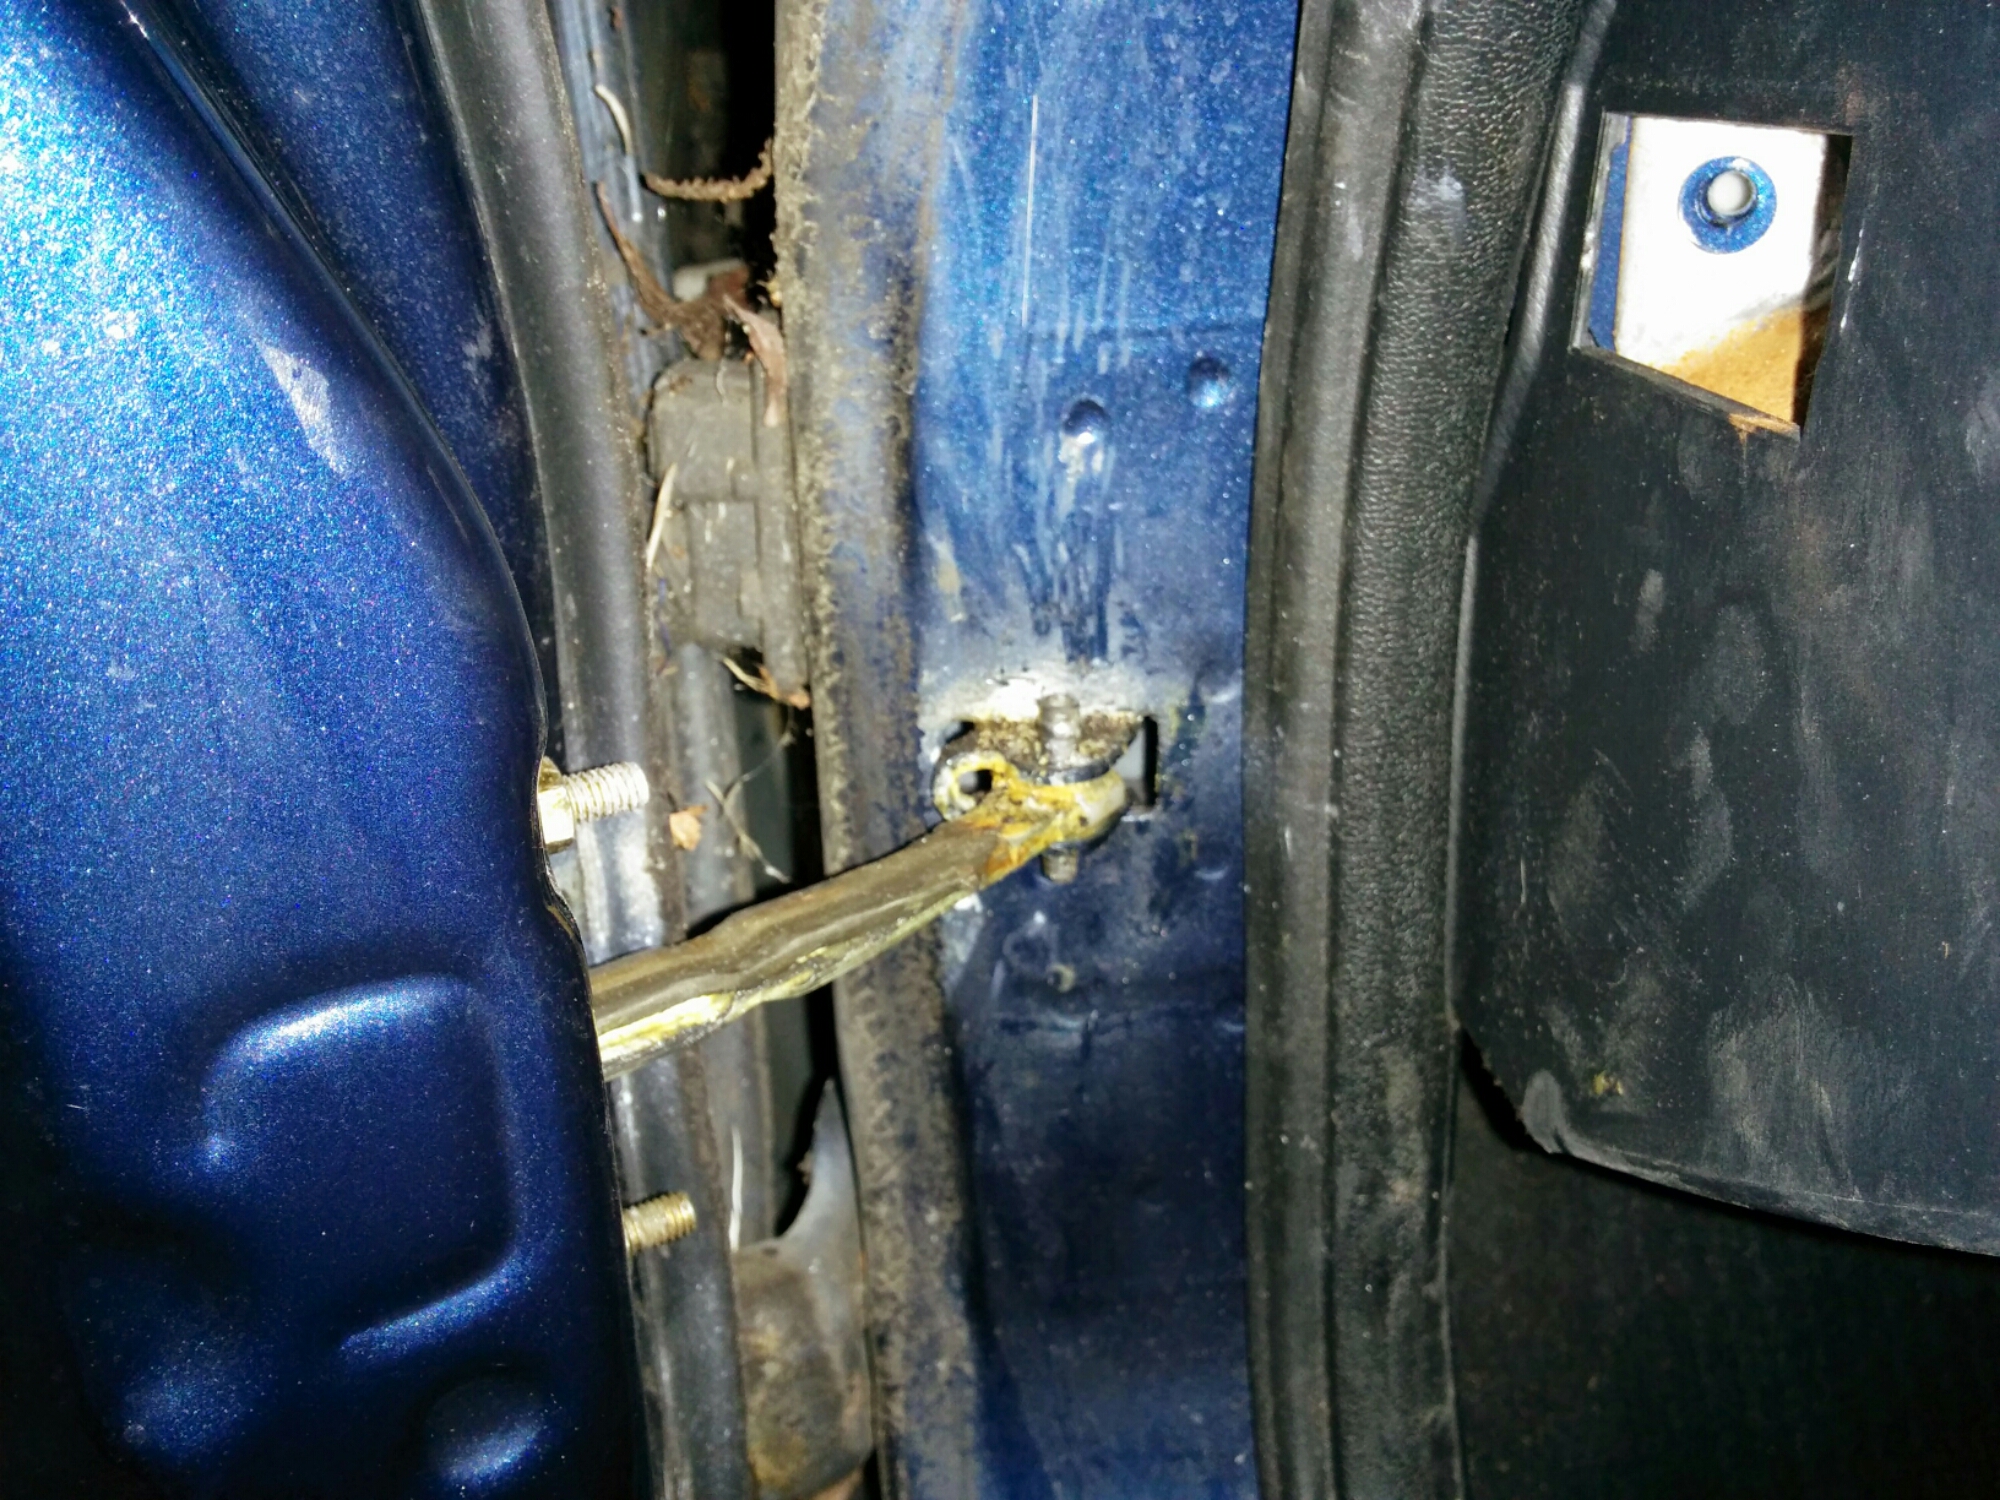
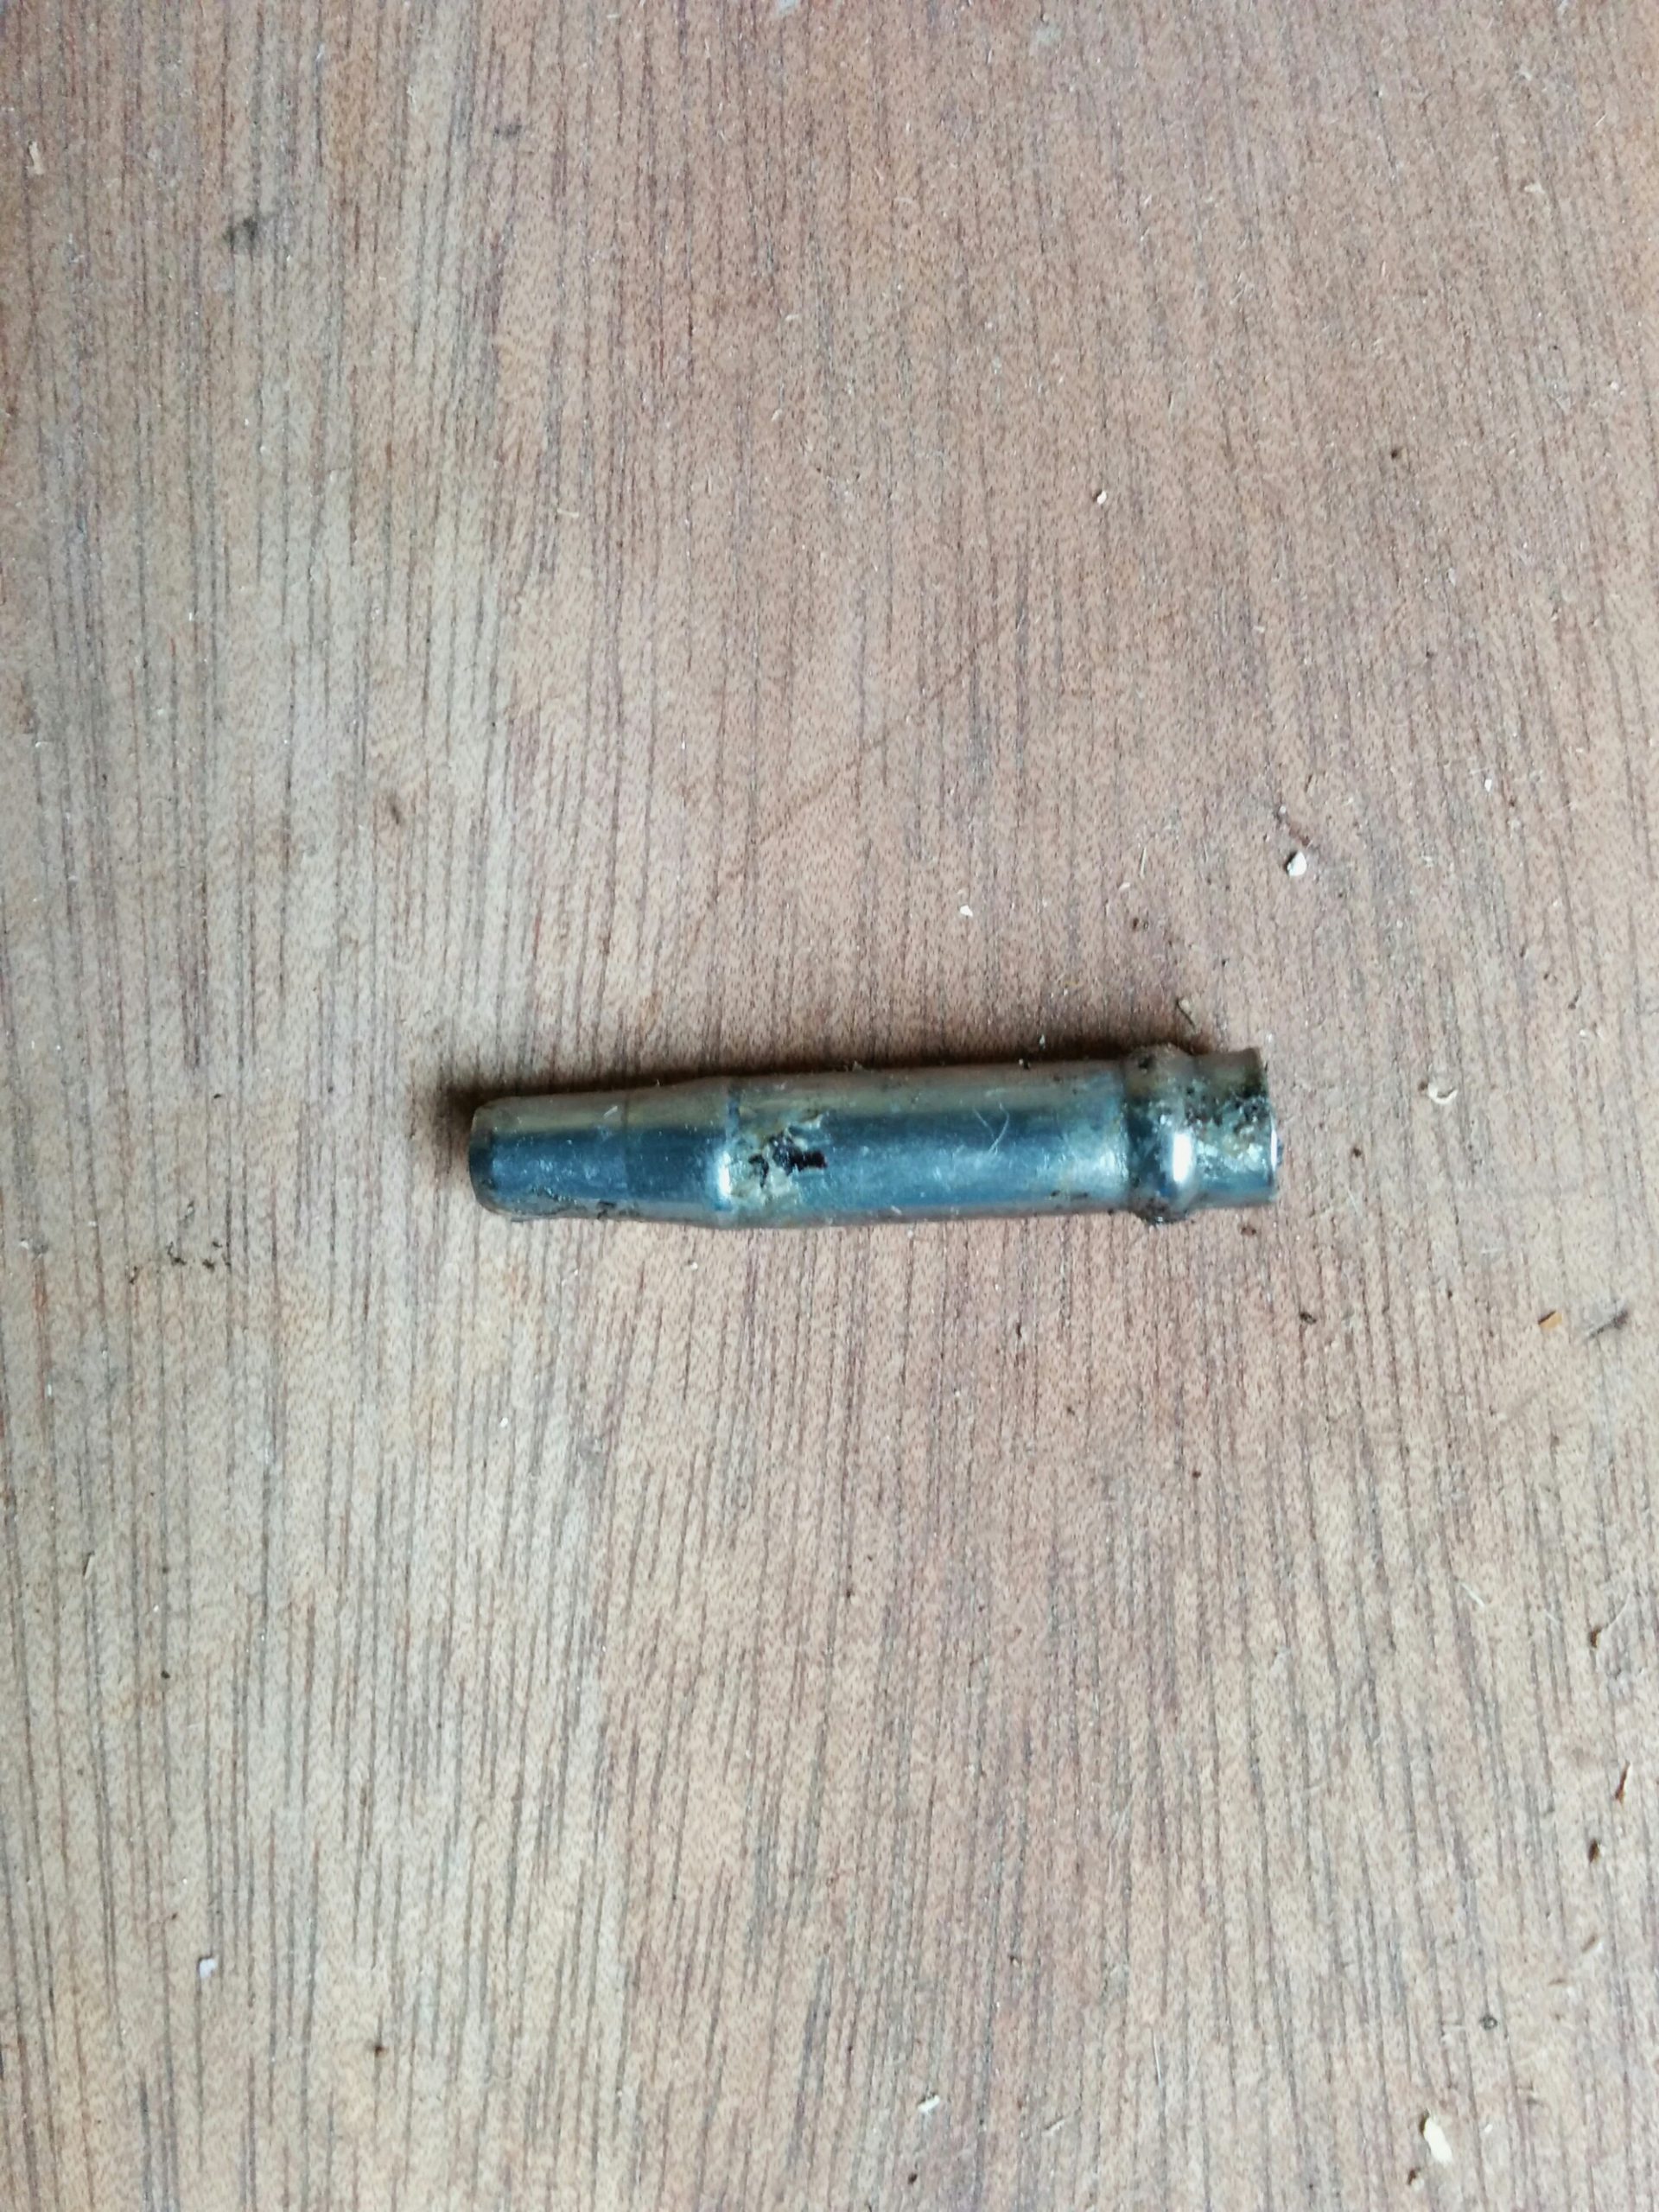
When you take this pin out from the retaining thingy on the door… It needs to go up and not down!! It’s basically a bit of a cone shape and just needs a couple of gentle taps upward with a hammer.
Et voila!!
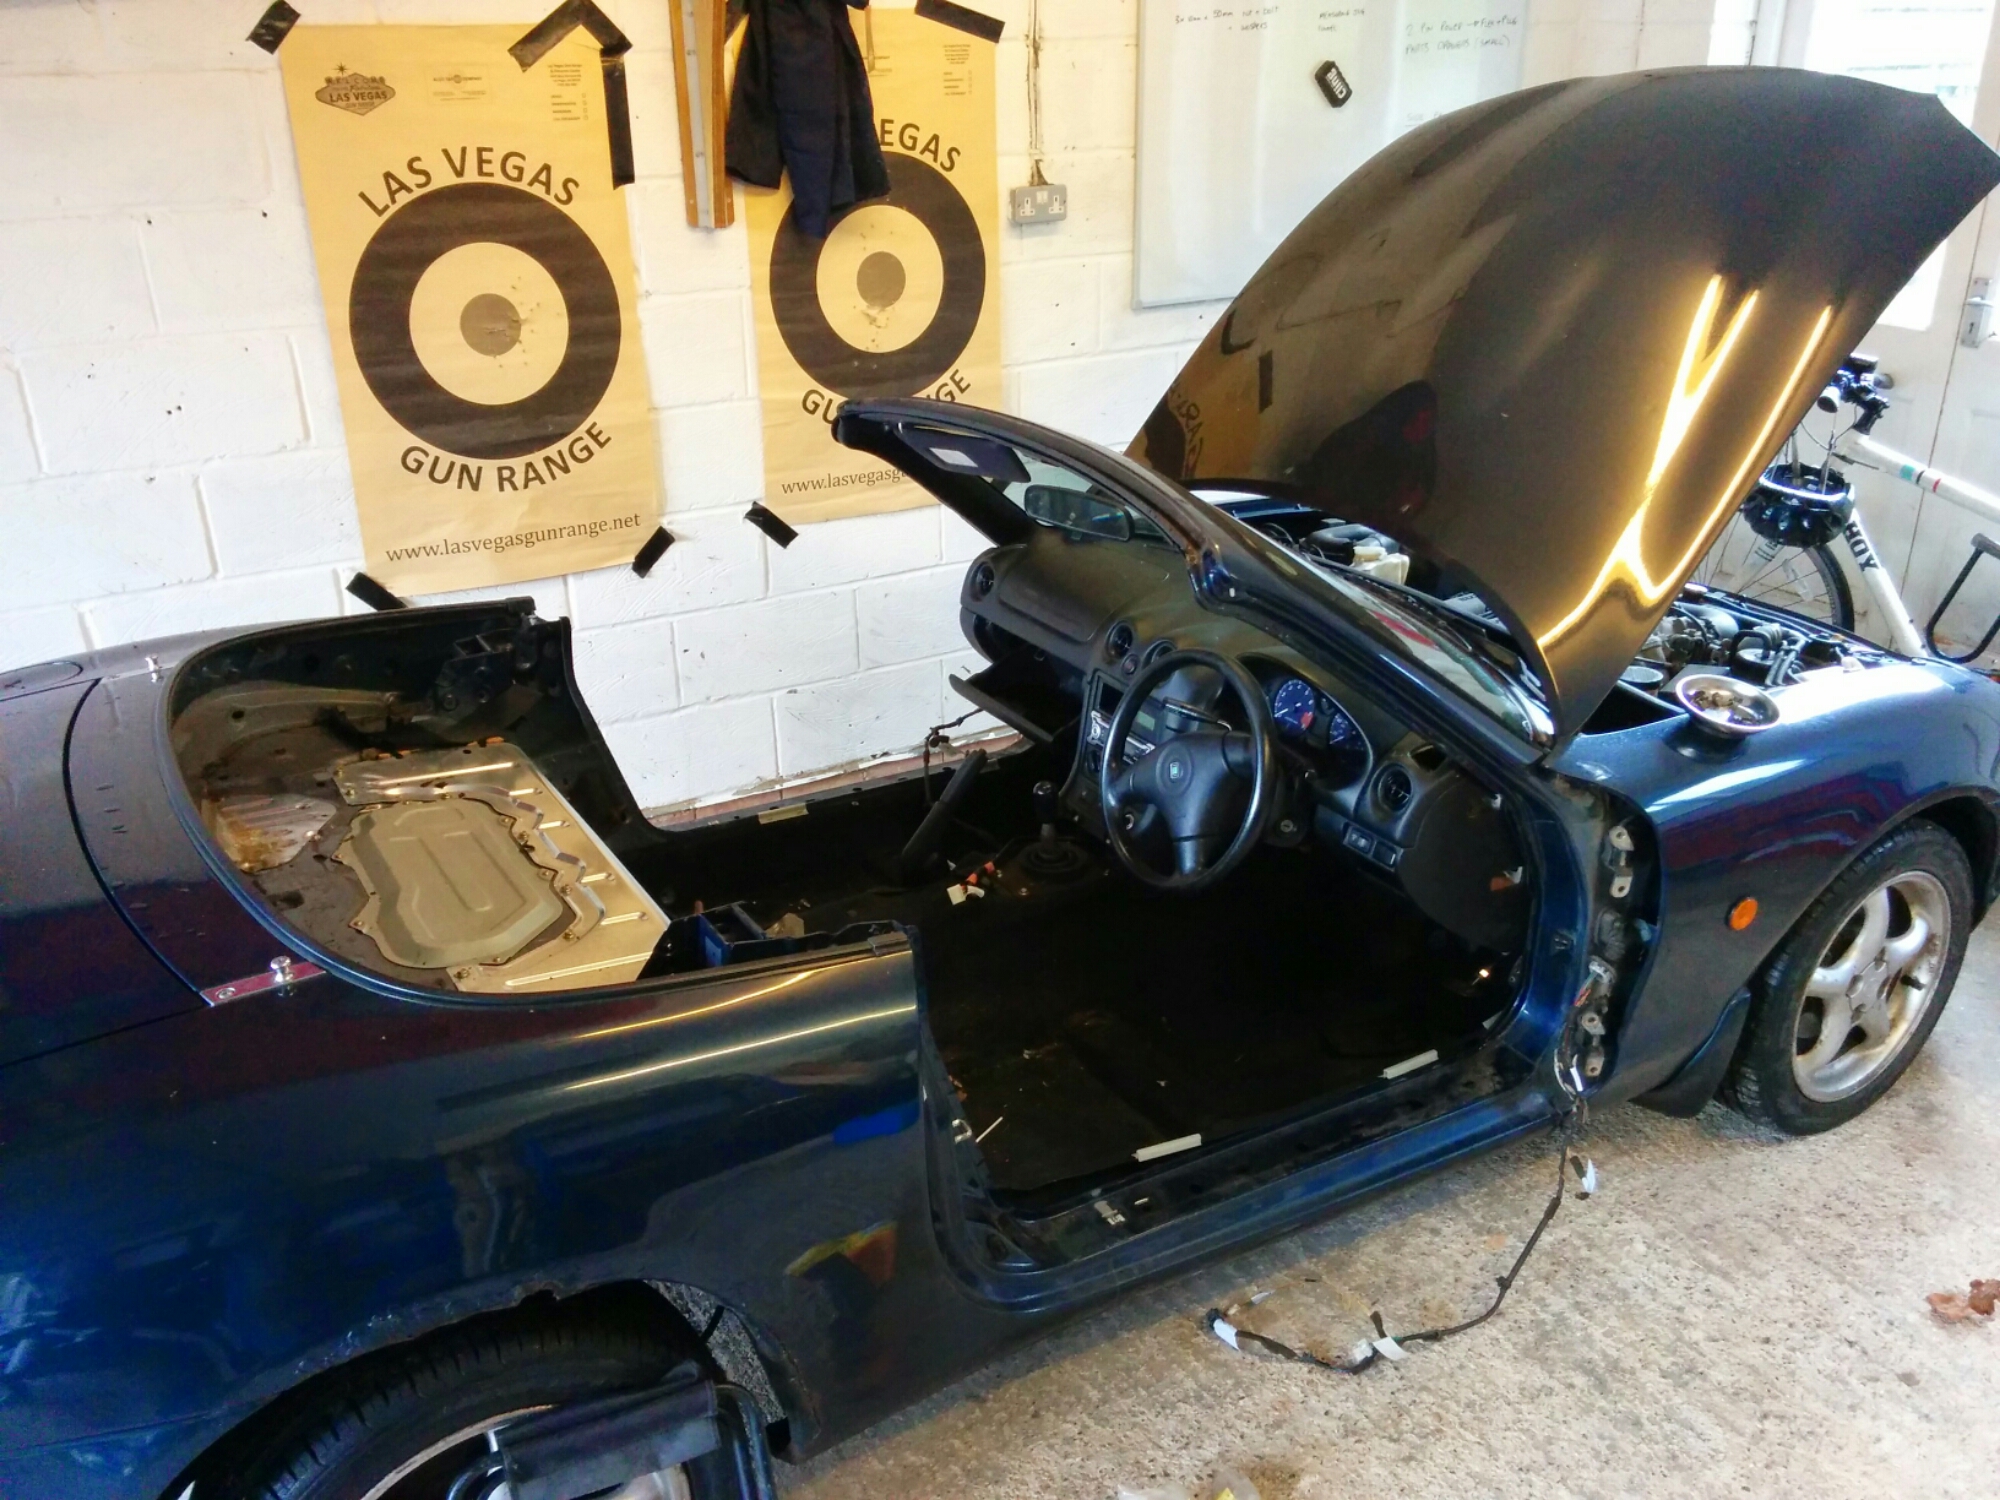
By this point I’m just beginning to uncover the tips of the wiring loom, so figure it’s probably best to tackle the dashboard. The idea being I can get it stripped back to bare bulkhead and carry on practising with bits I don’t need… Before going on to the engine bay.
With hindsight there is a good methodical way to strip out the wiring loom. The hub for all wires focuses around the fusebox in the driver’s foot well and the engine bay fuse box on the opposite side of the bulkhead. From there the loom forms a big H terminating in the light at each corner of the car (plus wrapping around front right a bit to connect to the engine)
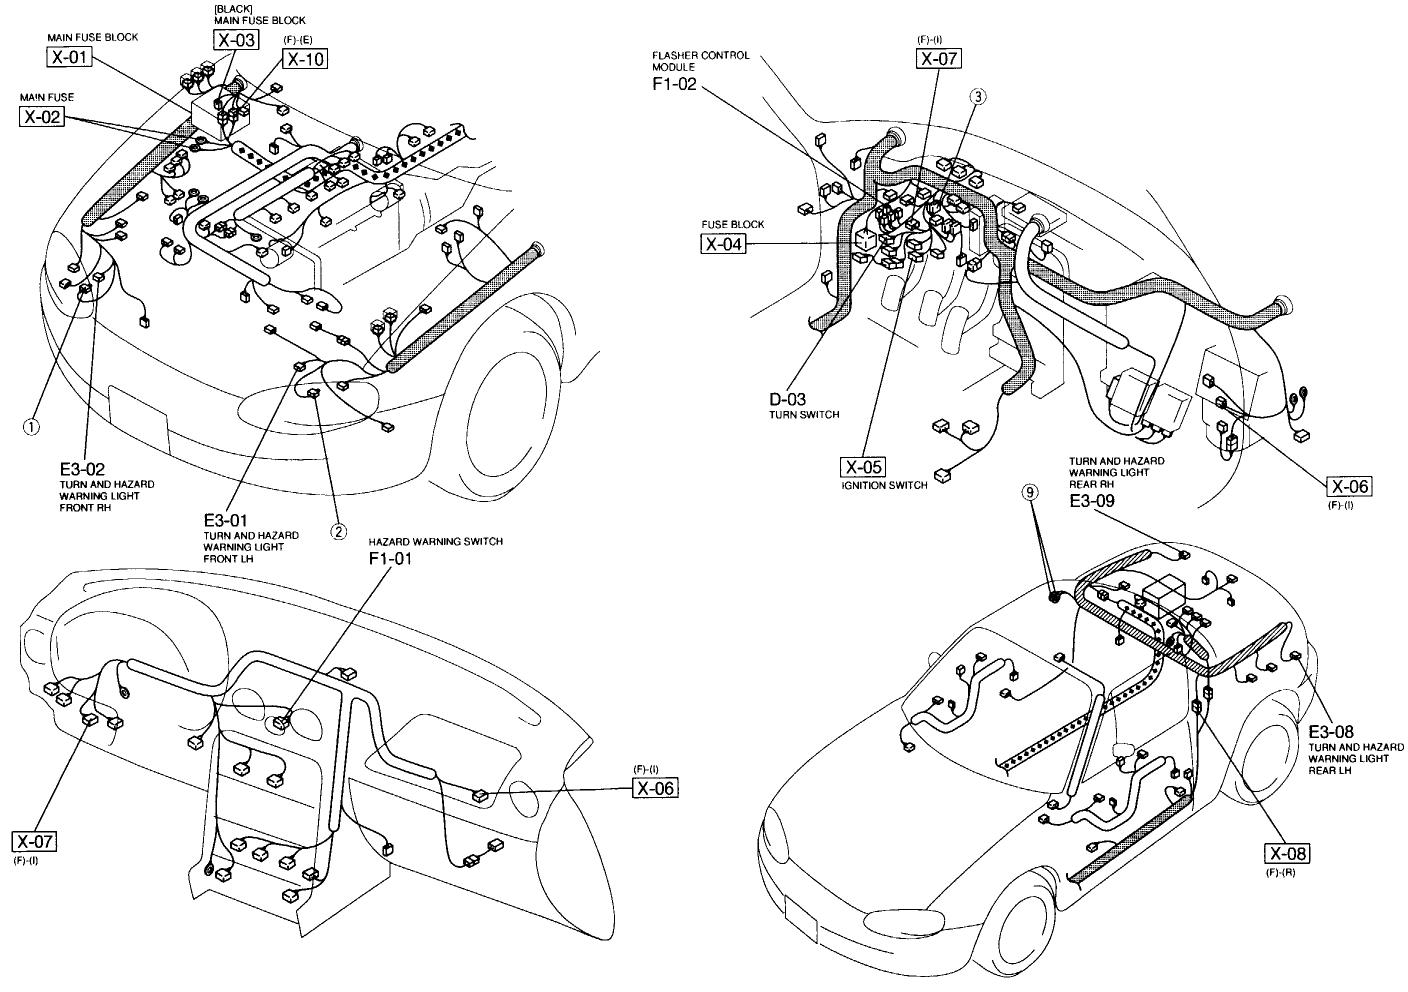
The best way to tackle it is to start from each corner light and trace in toward the fuse boxes. That plus following the instructions on the MEV site around removing the dash and a liberal sprinkling of Haynes manual gets me to this.
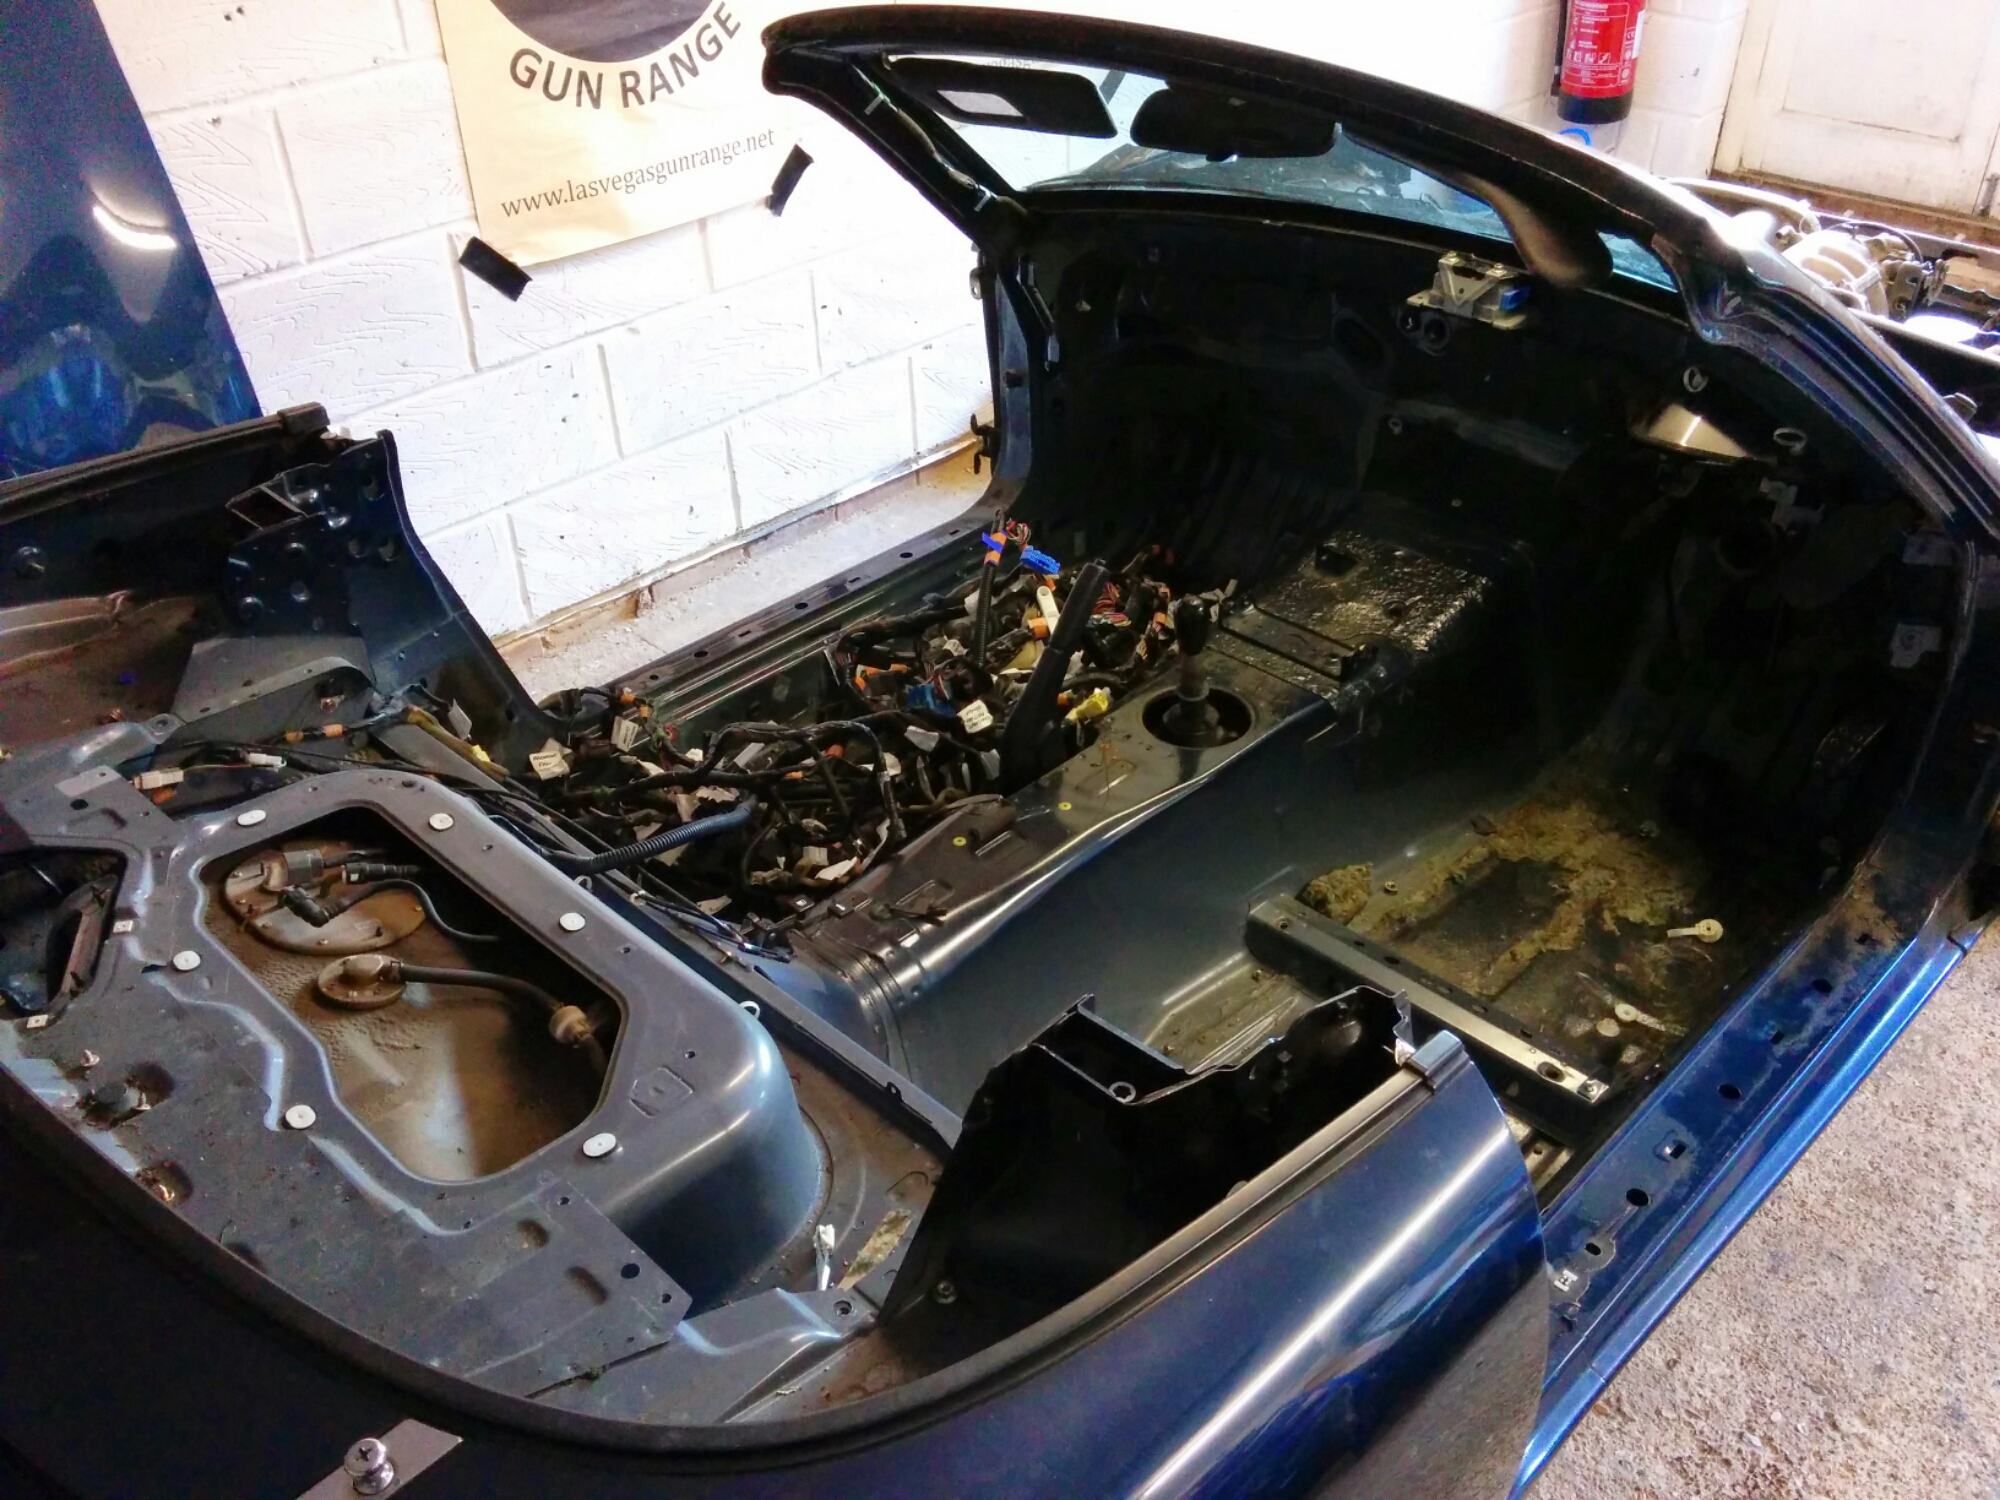
That’s the wiring loom coiled up in the passenger foot well. I’ve still not decided if I’m going to try and re-use it or go straight for the megasquirt loom sold by RoadRunner. If I don’t dick around with it, it’s worth around £200 as long as someone buys it. If I do decide to reuse it I need to be careful to keep;
- ECU – From the passenger foot well (in some awkward to access) metal casing
- Immobiliser – Can’t remember where this was actually. Think it was in behind the steering column. It’s a 2″ square plastic box and about 1″ deep
- Ignition barrel – Attached to the steering column with some shear bolts. Not worked out how to disconnect this without damaging it yet
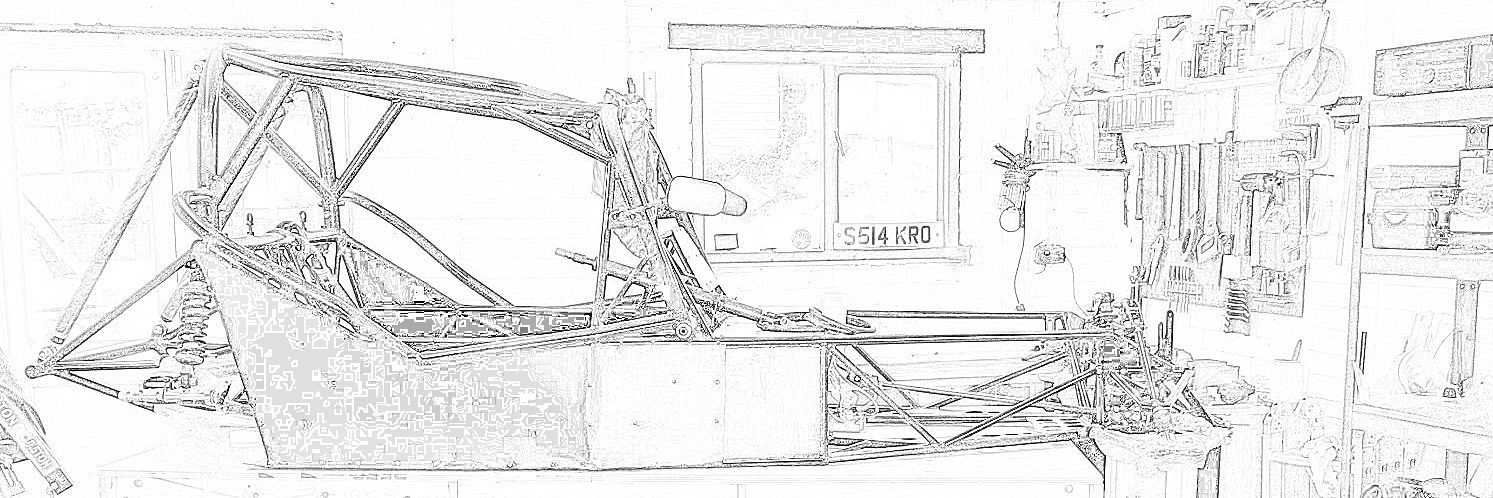
From here I stripped down enough of the engine to be able to lift the body up and over.
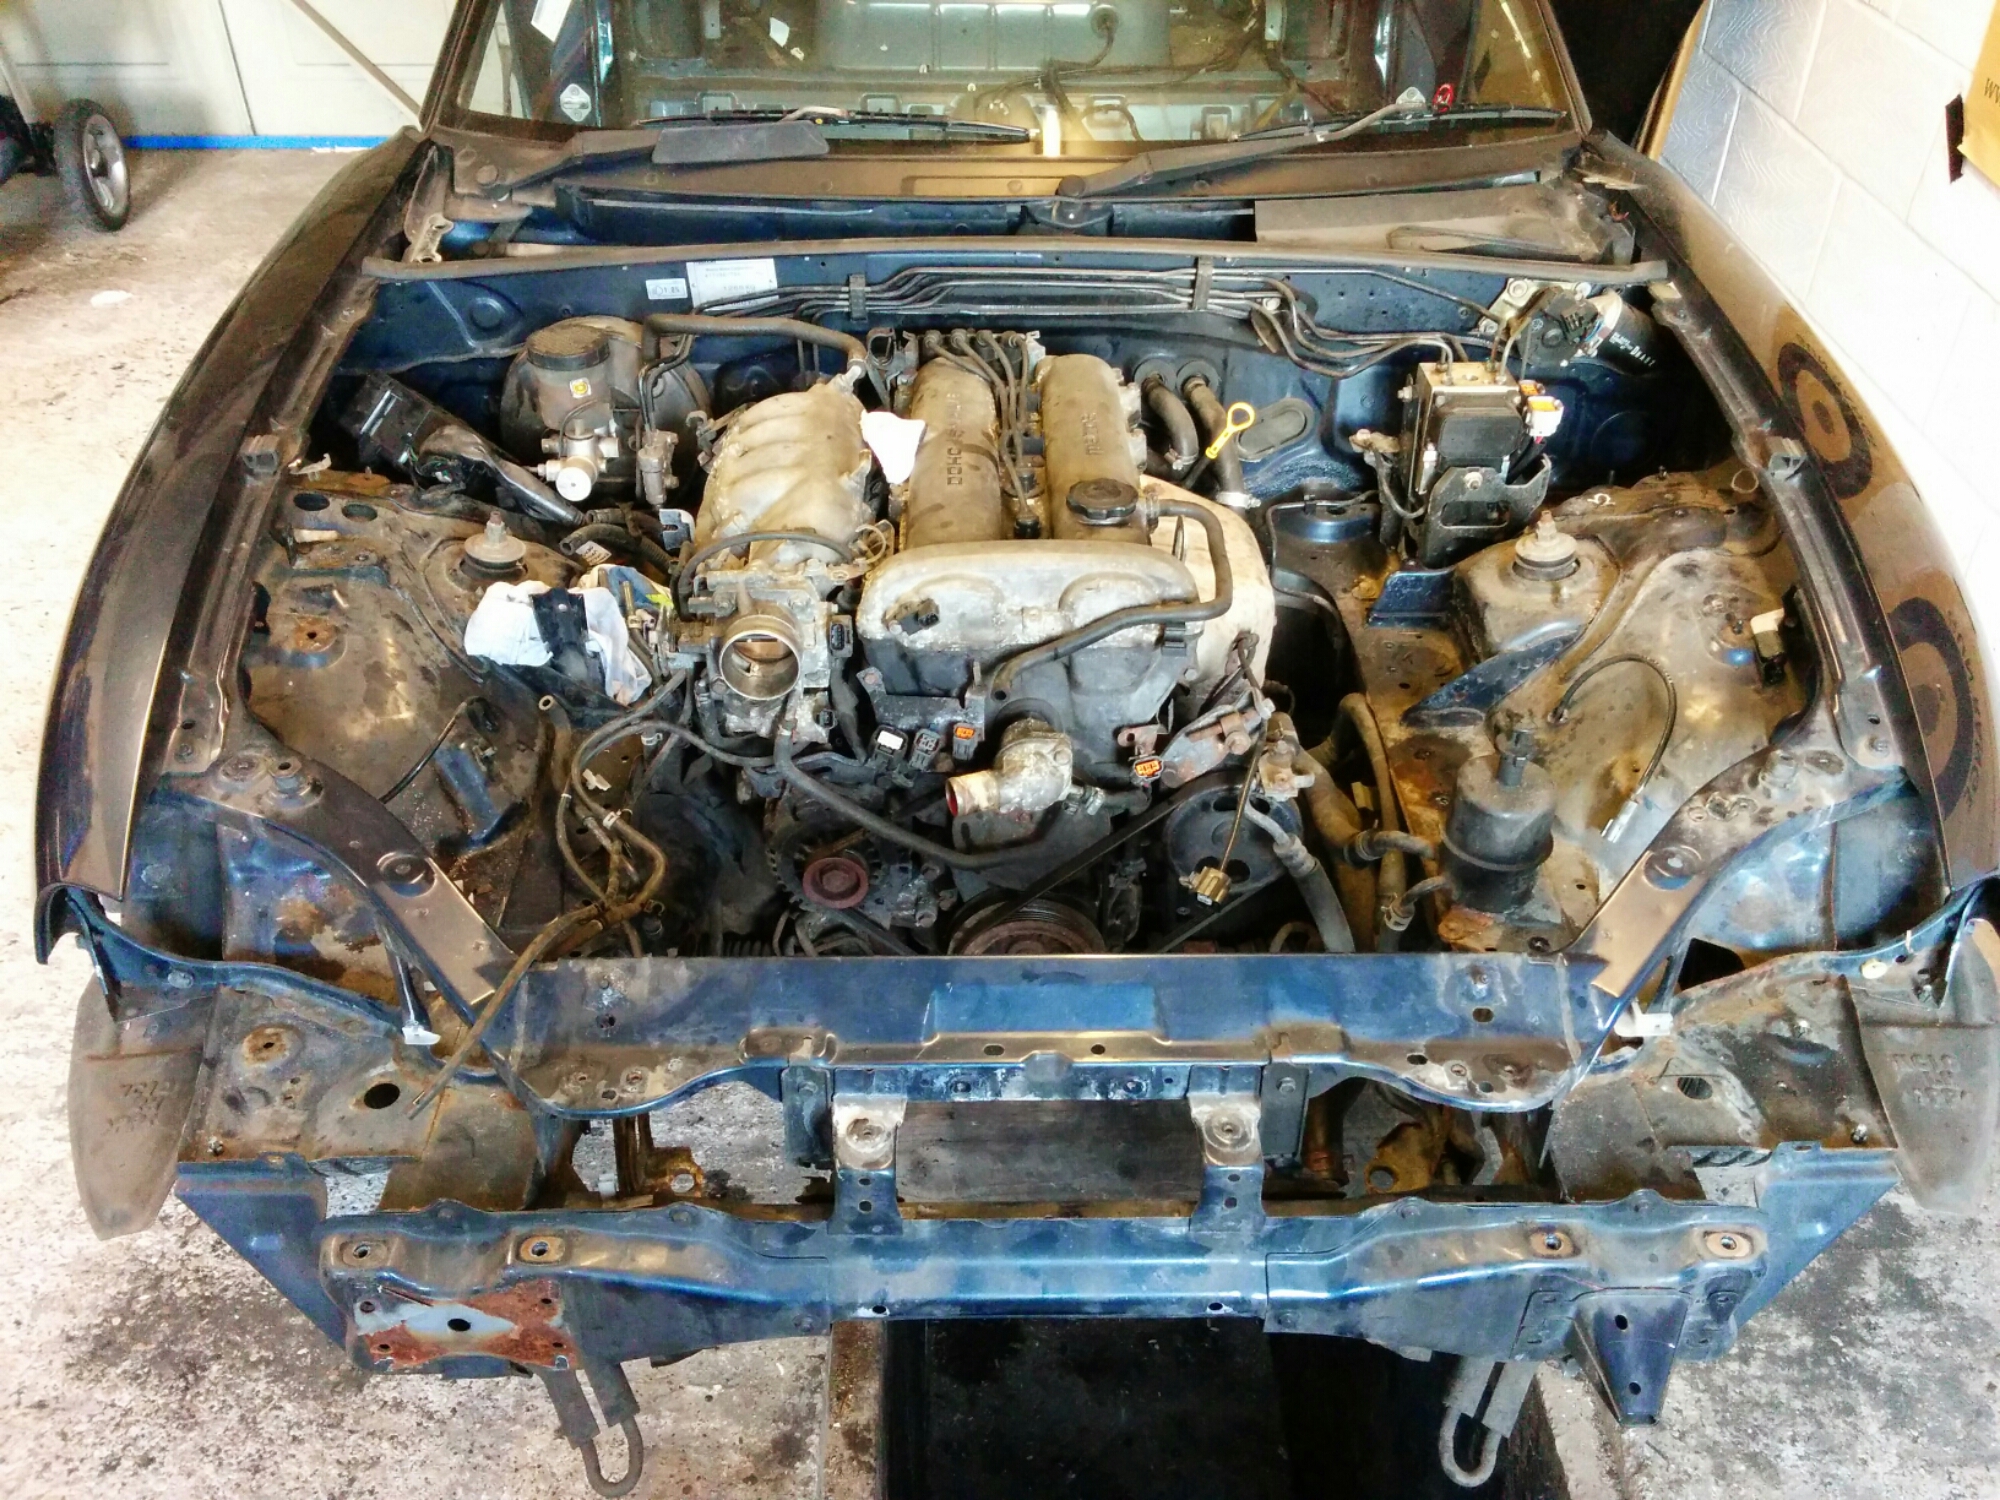
As well as removing most parts that I think might have value. In all this has been around 2 days work as a 1 man job so far. Main things left to do are
- Fuel tank drain
- Brake lines
- Suspension top bolts
- Sub frame bolts
- Lift the body off