Time to get on to the parts of the donor strip that are potentially more dangerous. Namely;
- Draining the fuel tank – It still has around 25 liters of unleaded in it
- Safely getting the compression out of the suspension – Wherever you read up on this you find something to the effect of “Danger! Risk of death!!”
- Removing the body from the power-plant frame – I had to do this on my own then safely get it down a sloped driveway for collection
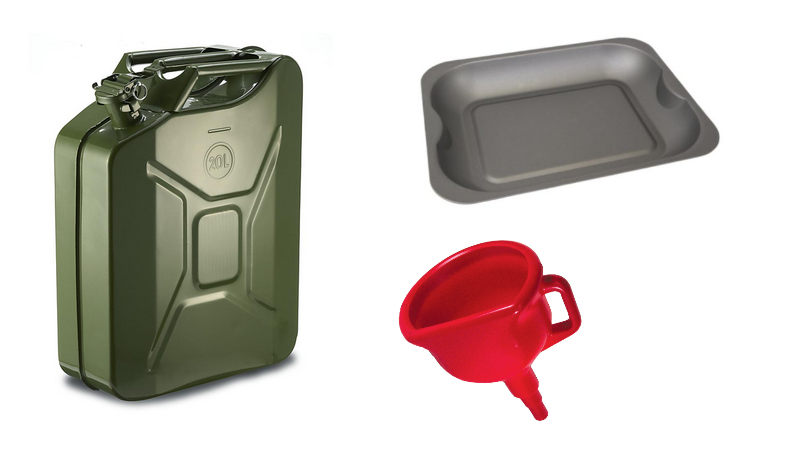
Embarrassingly, I made a real pig’s ear of draining the fuel tank. With hindsight I should have done something similar to the following
- Open the filler cap and leave it a little to ensure there isn’t too much pressure in the system (check… did this)
- Open the doors to the garage to get a breeze through and let any fumes dissipate (check… did this)
- Get a 20L jerry can (or two), a funnel and 2 old roasting trays (sort of check…)
- In front of the back right wheel, disconnect the fuel line before the fuel filter
- Drain fuel into a tray then swap for an empty one
- Use the funnel to decant into the jerry can.
You follow these instructions at your own risk!
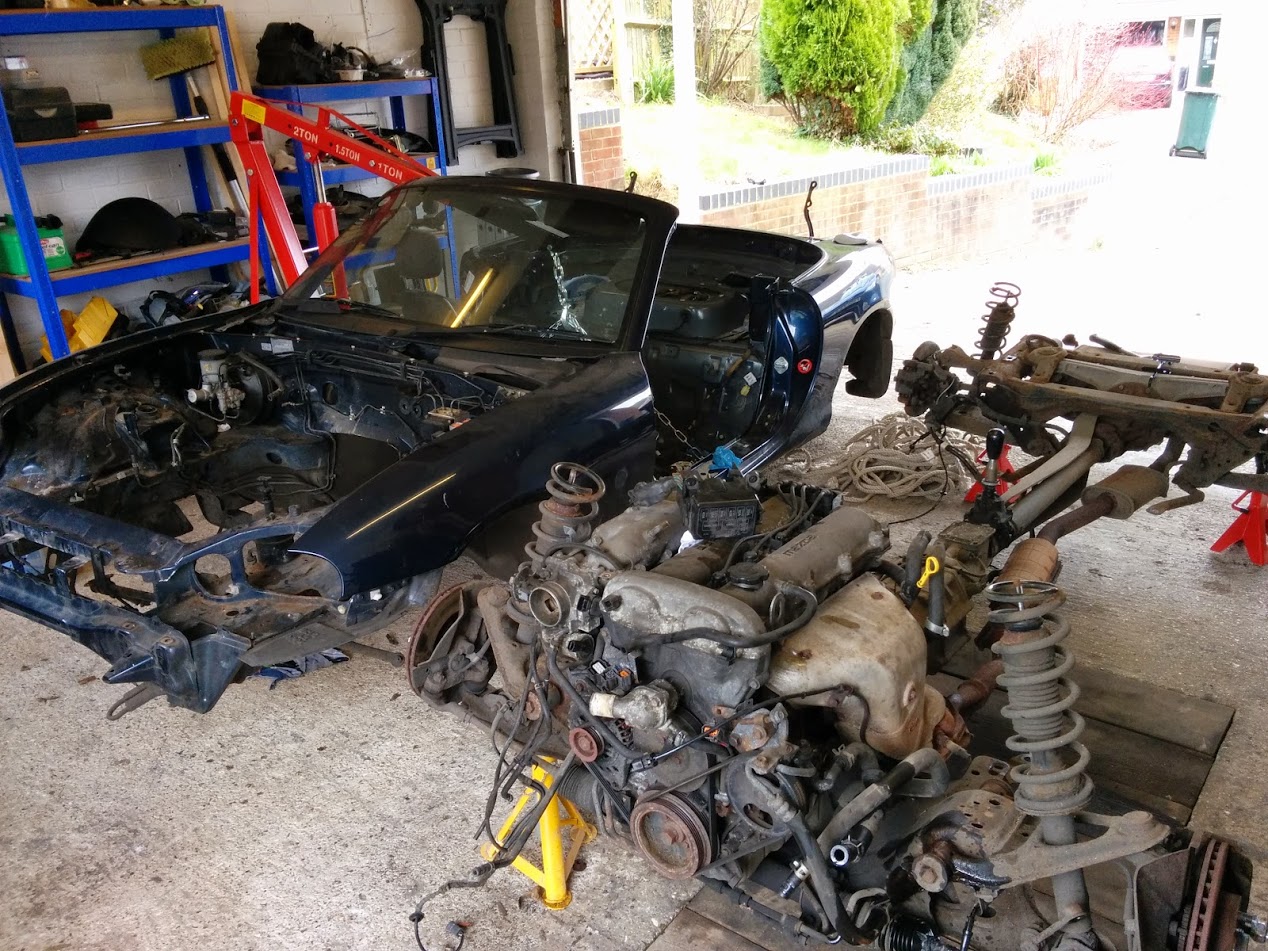
The suspension went a little better and wasn’t as scary as I had expected. Anything I read told me to be very wary when undoing the top bolt on the suspension. The springs are compressed between the lower suspension arm and the body shell. I ended up taking the top bolt off while the car was sat firmly on the ground. The weight of the shell then keeps the springs compressed. It’s only when you go on to the next step and lift the body off the power-plant frame that the compression is gradually taken out of them.
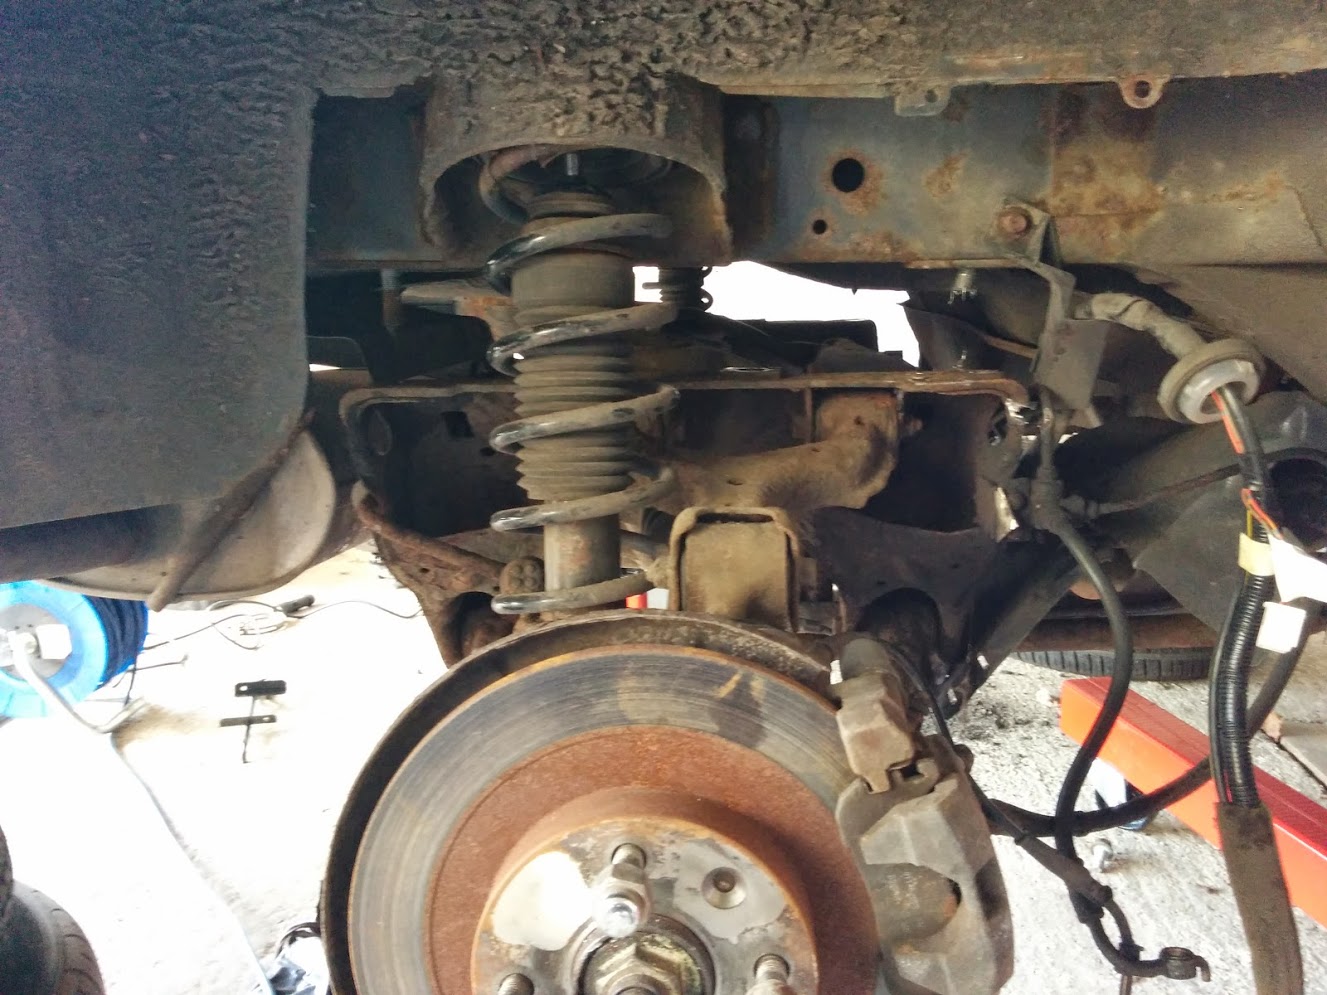
In the picture above, you can see the rear sub-frame separated from the bodywork with clear air in the middle of the picture. These bolts were a bugger on my donor! It took a fair bit of sitting on the floor and sweating with an impact bar to get them off. For the rears in particular one of the three nuts has a fixed head attached to the bodywork. Leave that one until last and it makes life so much easier. I did this wrong on the first corner and ended up angle grinding through a bolt.
Once you’ve worked round all the bolts connecting the front and rear sub-frames to the body work, it’s time for the fun bit! For this I bought a length of 6mm bright steel chain and cut a couple of lengths. Each length ran to form a cross between seat belt bolt-holes (see the photo)
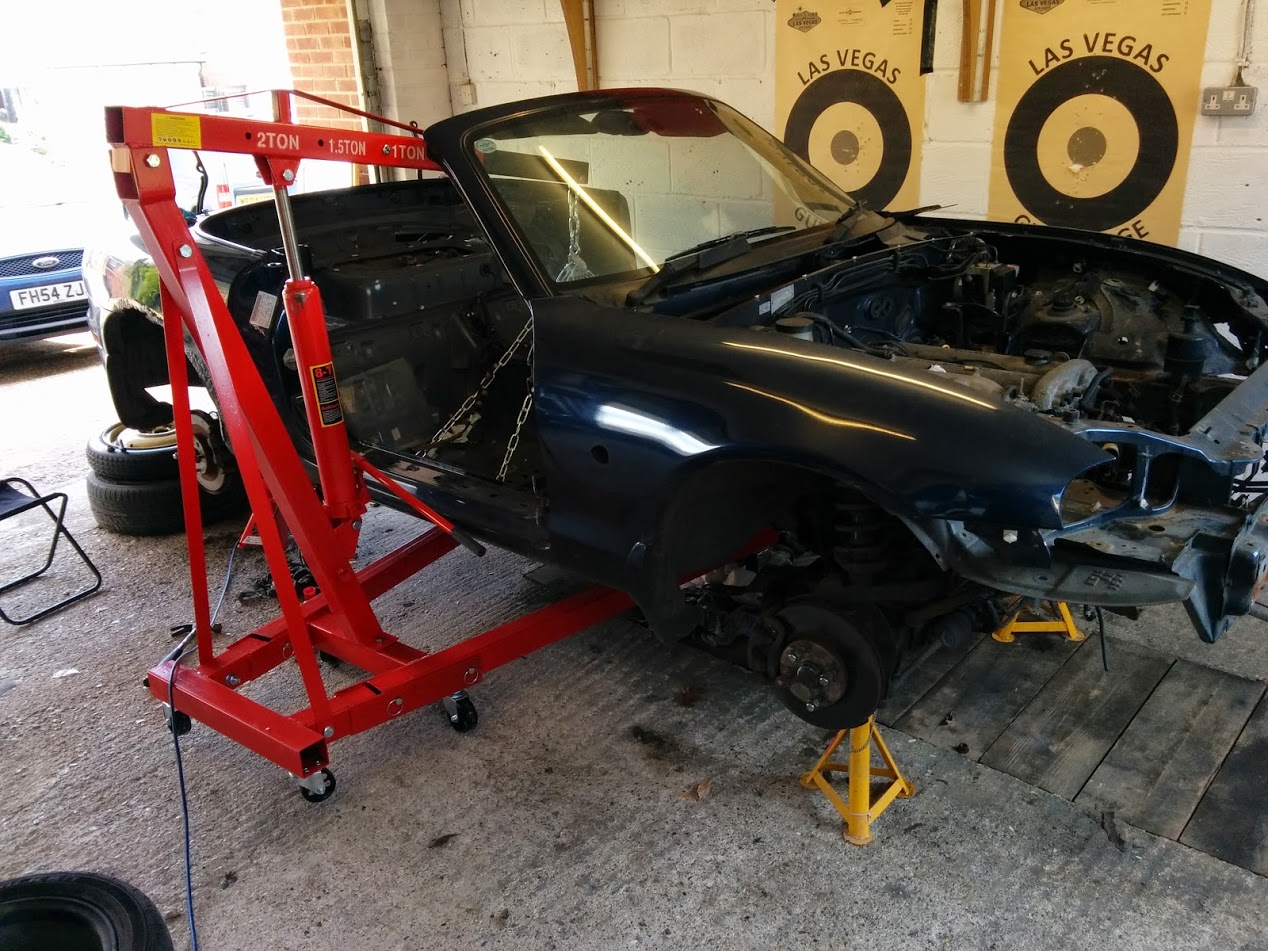
I knew I was going to be doing this as a one man job, so I wanted the shell as stable as possible when it came off the power-plant frame. This is one thing that worked really quite well 🙂 The only last minute change I needed to make to get the shell off was undoing one side of the strut at the front of the engine bay.
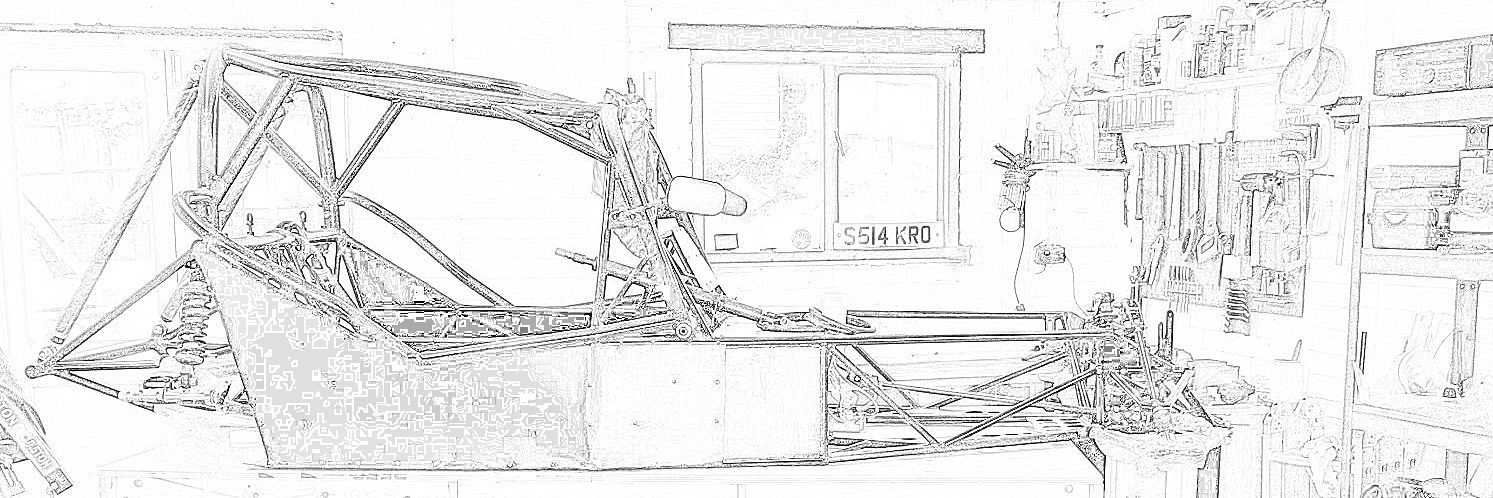
The end result is we then have a separated shell and power plant frame! I properly enjoyed stripping down the donor and would happily do it again.
Over the next couple of weeks I’ve then spent time stripping down the remaining power-plant frame so that I have a pile of pieces I want and some spares for sale. I also had a bit of fun putting the shell on a piece of wood and towing it out of the garage using my wife’s Ford Focus C-Max. Just as the neighbours were heading out on a Sunday morning… I think they wondered what the hell I was doing!